Introduction
Capacitors are essential components in nearly every circuit board, but they can hold dangerous levels of charge even after being disconnected from the main power source. If not discharged properly, they can cause serious injuries.

In this post, I’ll guide you through creating a simple, resistor-based capacitor discharge tool that allows you to safely and conveniently discharge capacitors.
COMPONENTS FOR THIS PROJECT
- 4mm Banana Socket (x2): Aliexpress | Shopee Thailand
- Metal Film Resistor (3W): Aliexpress | Shopee Thailand
- Cement Resistor (5W): Aliexpress | Shopee Thailand
- Multimeter Probe: Aliexpress | Shopee Thailand
- Multi Function Probe: Aliexpress | Shopee Thailand
- FHC M3x10 (x2): Aliexpress | Shopee Thailand
3D Print Parts:
- Printable.com: DIY Capacitor Discharge Tool
- Thingiverse.com: DIY Capacitor Discharge Tool
Making a Discharge Tool

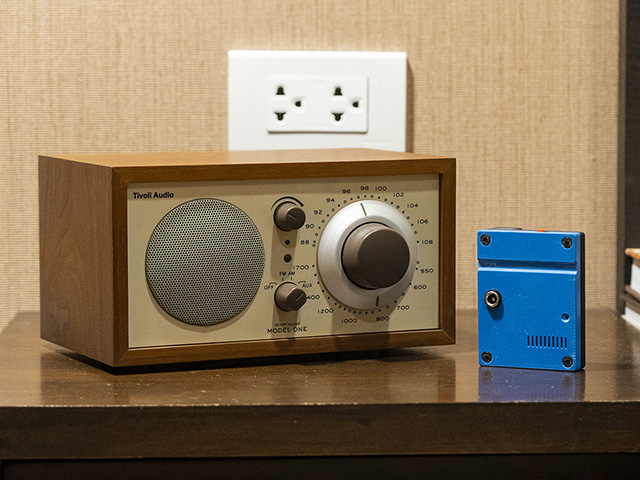
This capacitor discharge tool is designed to work with multimeter probes connected to 4 mm banana binding posts. This setup allows for easy switching between different discharge wires.
Additionally, I’ve included a measurement socket on the back that fit 2 mm multimeter probe. So you conveniently use multimeter to monitor capacitor voltage while discharging.
In the example below, I’ve used a 3W 100KΩ resistor, which was the only high-wattage resistor I had available. Typically, you can use a 2KΩ resistor for small capacitors and a 20KΩ resistor for larger ones. While lower-value resistors discharge capacitors more quickly, they also generate more heat.
The minimum recommended wattage for the resistor is 2W. While higher wattage resistors are preferable, but they are also larger. The enclosure is designed to accommodate resistors up to 5W (22mm x 9.5mm), with the resistor positioned on top of the banana socket pins.

The assembly process is straightforward. Start by inserting both M12 banana sockets into the designated slots in front of the 3D-printed enclosure and tighten them securely.
Once both sockets are in place, tie the resistor’s pins to the banana socket pins. Carefully solder the resistor to the socket pins, taking extra care not to over heat the pin, as the M12 banana sockets are not designed to withstand the high temperatures of a soldering iron.
After finished, inspect the connections to ensure everything is secure and properly aligned. Insert a multimeter probe into the measurement slot to verify that the tip of the probe sits correctly on the connector.
If everything turns out as expected, close the cover and secure it with M3x10 flat head screws.


Conclusion
This capacitor discharge tool allows you to safely discharge capacitors, minimizing the risk of injury when working with electronic components.
You can make similar tool with only a high gauges wires and a resistor but with the enclosure and banana socket it provided more safety and flexibility to connect various discharge wires and convenience monitor discharge voltage using a multimeter.
This tool is a valuable addition to any DIY electronics toolkit. However, large capacitors can hold high voltages that can cause serious injury or even death. When working with high-voltage capacitors, ensure that all connections are secure and properly aligned, and always prioritize safety when handling capacitors.
DISCLAIMER: This video and description contain affiliate links that support our channel. We are not responsible for any losses, damage, or injury in connection with the use of our content.


