
Introduction
The 3D-printed parts blade guard for my DIY jigsaw table is comprised of two main pieces. The clamp and the hinge with an acrylic plate.
To create a clear view of the cutline while cutting, I’m using a 3mm transparent acrylic plate for the front guard. The acrylic plate is fixed to the hinge with M2.5 screws. While the adjustable hinge is connected to the clamp with two M3 knobs.
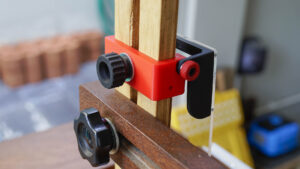
The clamp will be attached to the wooden blade guide, which is made of 15-millimetre plywood. The width is 55 millimetres. It’s designed to easily slide up and down to adjust the clearance from the cut piece and can be locked in place with an M6 knob and slide nut.
In this project, I use the M6 knob designed by airald and the M3 knob designed by Perinsky. I already include the download link below.
Material List

3D PRINT PARTS
FILAMENT USE IN THIS PROJECT
- eSun ABS+: Aliexpress | Shopee Thailand
- eSun PETG: Aliexpress | Shopee Thailand
- eSun PLA+: Aliexpress | Shopee Thailand
How to Make
We will start by cutting the transparent acrylic to the appropriate size. I’m using the hinge as a guide to determine the width of the blade guard. And the length will be around 150 millimetres. However, this may vary depending on the specific design of your jigsaw table.
To cut the acrylic plate to size, I’m using a jigsaw blade designed for cutting plastic attached to my jigsaw table.
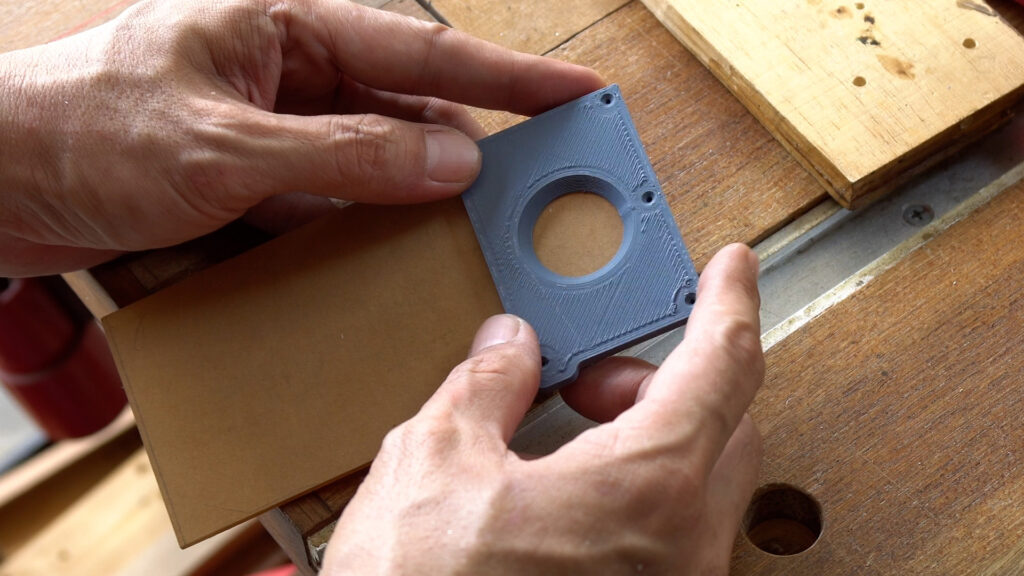
Next, I’ll be using a 3D print template to drill holes in the acrylic plate. I’ll begin by temporarily fixing the template to the acrylic plate using double-sided tape. Then use an M2.5 drill bit to drill holes through each template’s hole. If you are using flathead screws, you can use a counter sink drill bit to create a tapered hole.
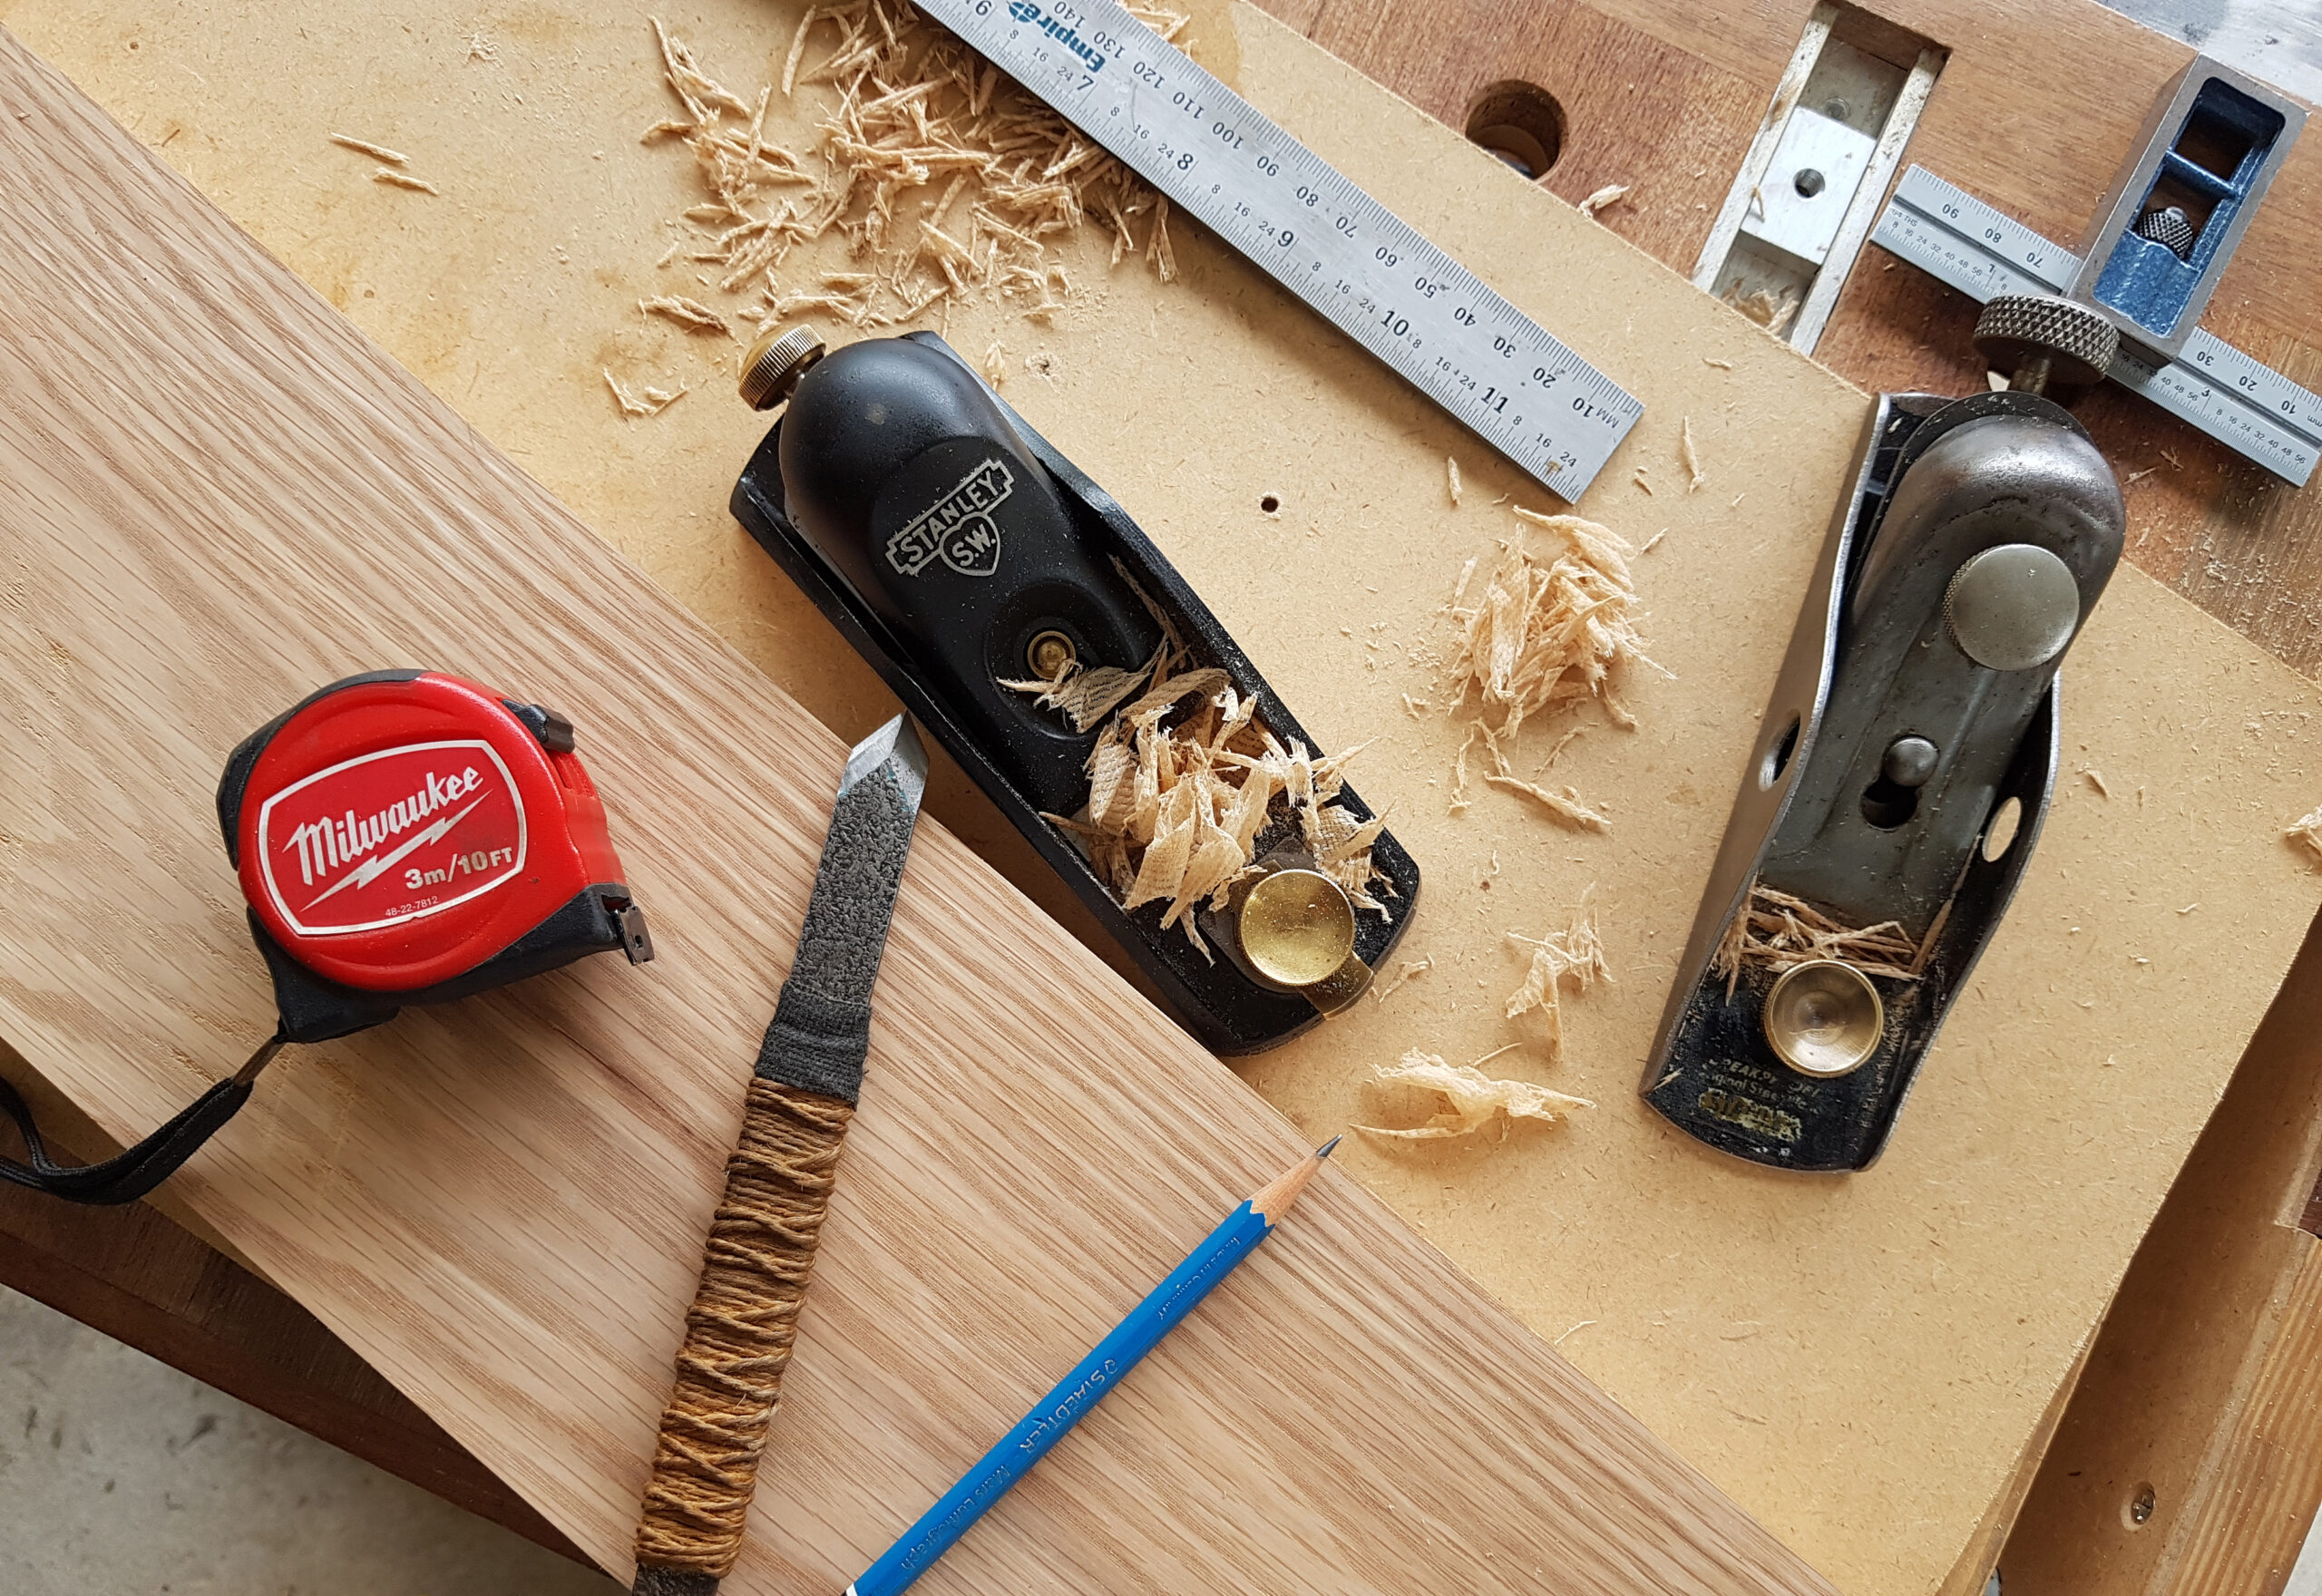
To create fillets on the bottom corners of the plate, I’ll use a washer to trace the desired shape. Then, I’ll use a mini sander to carefully grind out the fillet on each corner.

After finishing, attach the acrylic plate to the hinge using M2.5 screws. Don’t forget to remove the protective paper from the acrylic plate before assembly.

With the acrylic plate now securely attached to the hinge, we can move on to attaching the blade guard to the jigsaw table. Begin by inserting the clamp into the blade guide. Then, insert an M6 knob and a washer into the back of the clamp and screw it to the slide nut. Then attach the hinge to the clamp and secure it with an M3 knob on both sides.
And that’s it! Now, we’ve successfully completed making the DIY blade guard. To use it safely, always make sure to lower it as close to the cut piece as possible, especially when making a rip cut. For my build, I think I can extend its length by a couple of centimetres to use it more conveniently.

However, always keep in mind that any power tool can be dangerous, no matter how many safety features it may have. Always stay focused while working with power tools, as accidents can happen.
DISCLAIMER: This content, video and description may contain affiliate links that support our channel. We are not responsible for any losses, damage, or injury in connection with the use of our content.


I just watched your video on having an infinite charge on double AA batteries
What are the inquiries for you to make and send me this, if it’s possible for you to do it with a lithium battery that would be even better !