Introduction
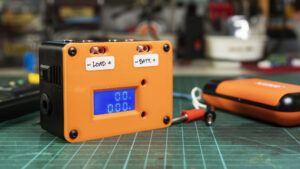
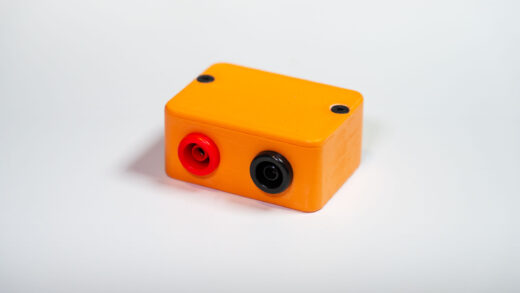
Introducing a compact, 3D Printed DIY solution for quick and easy DC power load measurements! This mini load meter is designed to help you to easily monitor voltage and current draw directly from your devices, making it perfect for gadget testing and power management.
It’s simple to use and easy to build, it’s capable of measuring up to 100 volts and 10 amps. Included selector switch for selecting a power source. If the measurement source is 5-24v it can use without an external power supply.
3D Print Parts:
- Printable.com: https://www.printables.com/model/484075-mini-volt-amp-meter-enclosure
- Easy Mini Volt-Amp Meter: https://www.thingiverse.com/thing:5674583

Component Use:
- Digital DC 100V 10A Voltage Current Meter DC 5-24V: Aliexpress
- DC-022 5.5×2.1mm DC Power Socket: Aliexpress | Shopee Thailand
- KCD11 Rocker Switch: Aliexpress | Shopee Thailand
- 6mm SPDT Slide Switch (2 Positions 3 Poles): Aliexpress | Shopee Thailand
- 4mm Banana Sockets: Aliexpress | Shopee Thailand
- U-Type 3A Screw Terminal Strip: Aliexpress | Shopee Thailand
- Brass Hot Melt Inset Nuts SL-type (M3xD5xL4): Aliexpress
- M3 x 10mm Socket Head Screws (X4):
- M3 x 10mm Button Head Screws (X4):
- M2.5 x 10mm Selftap Screws (X2):
- M2.5 x 5mm Button Head Screws (X2):
- M2 x 5mm Button Head Screws (X4):
- 18 AWG and 24 AWG wires:
- eSun PLA+: Aliexpress | Shopee Thailand
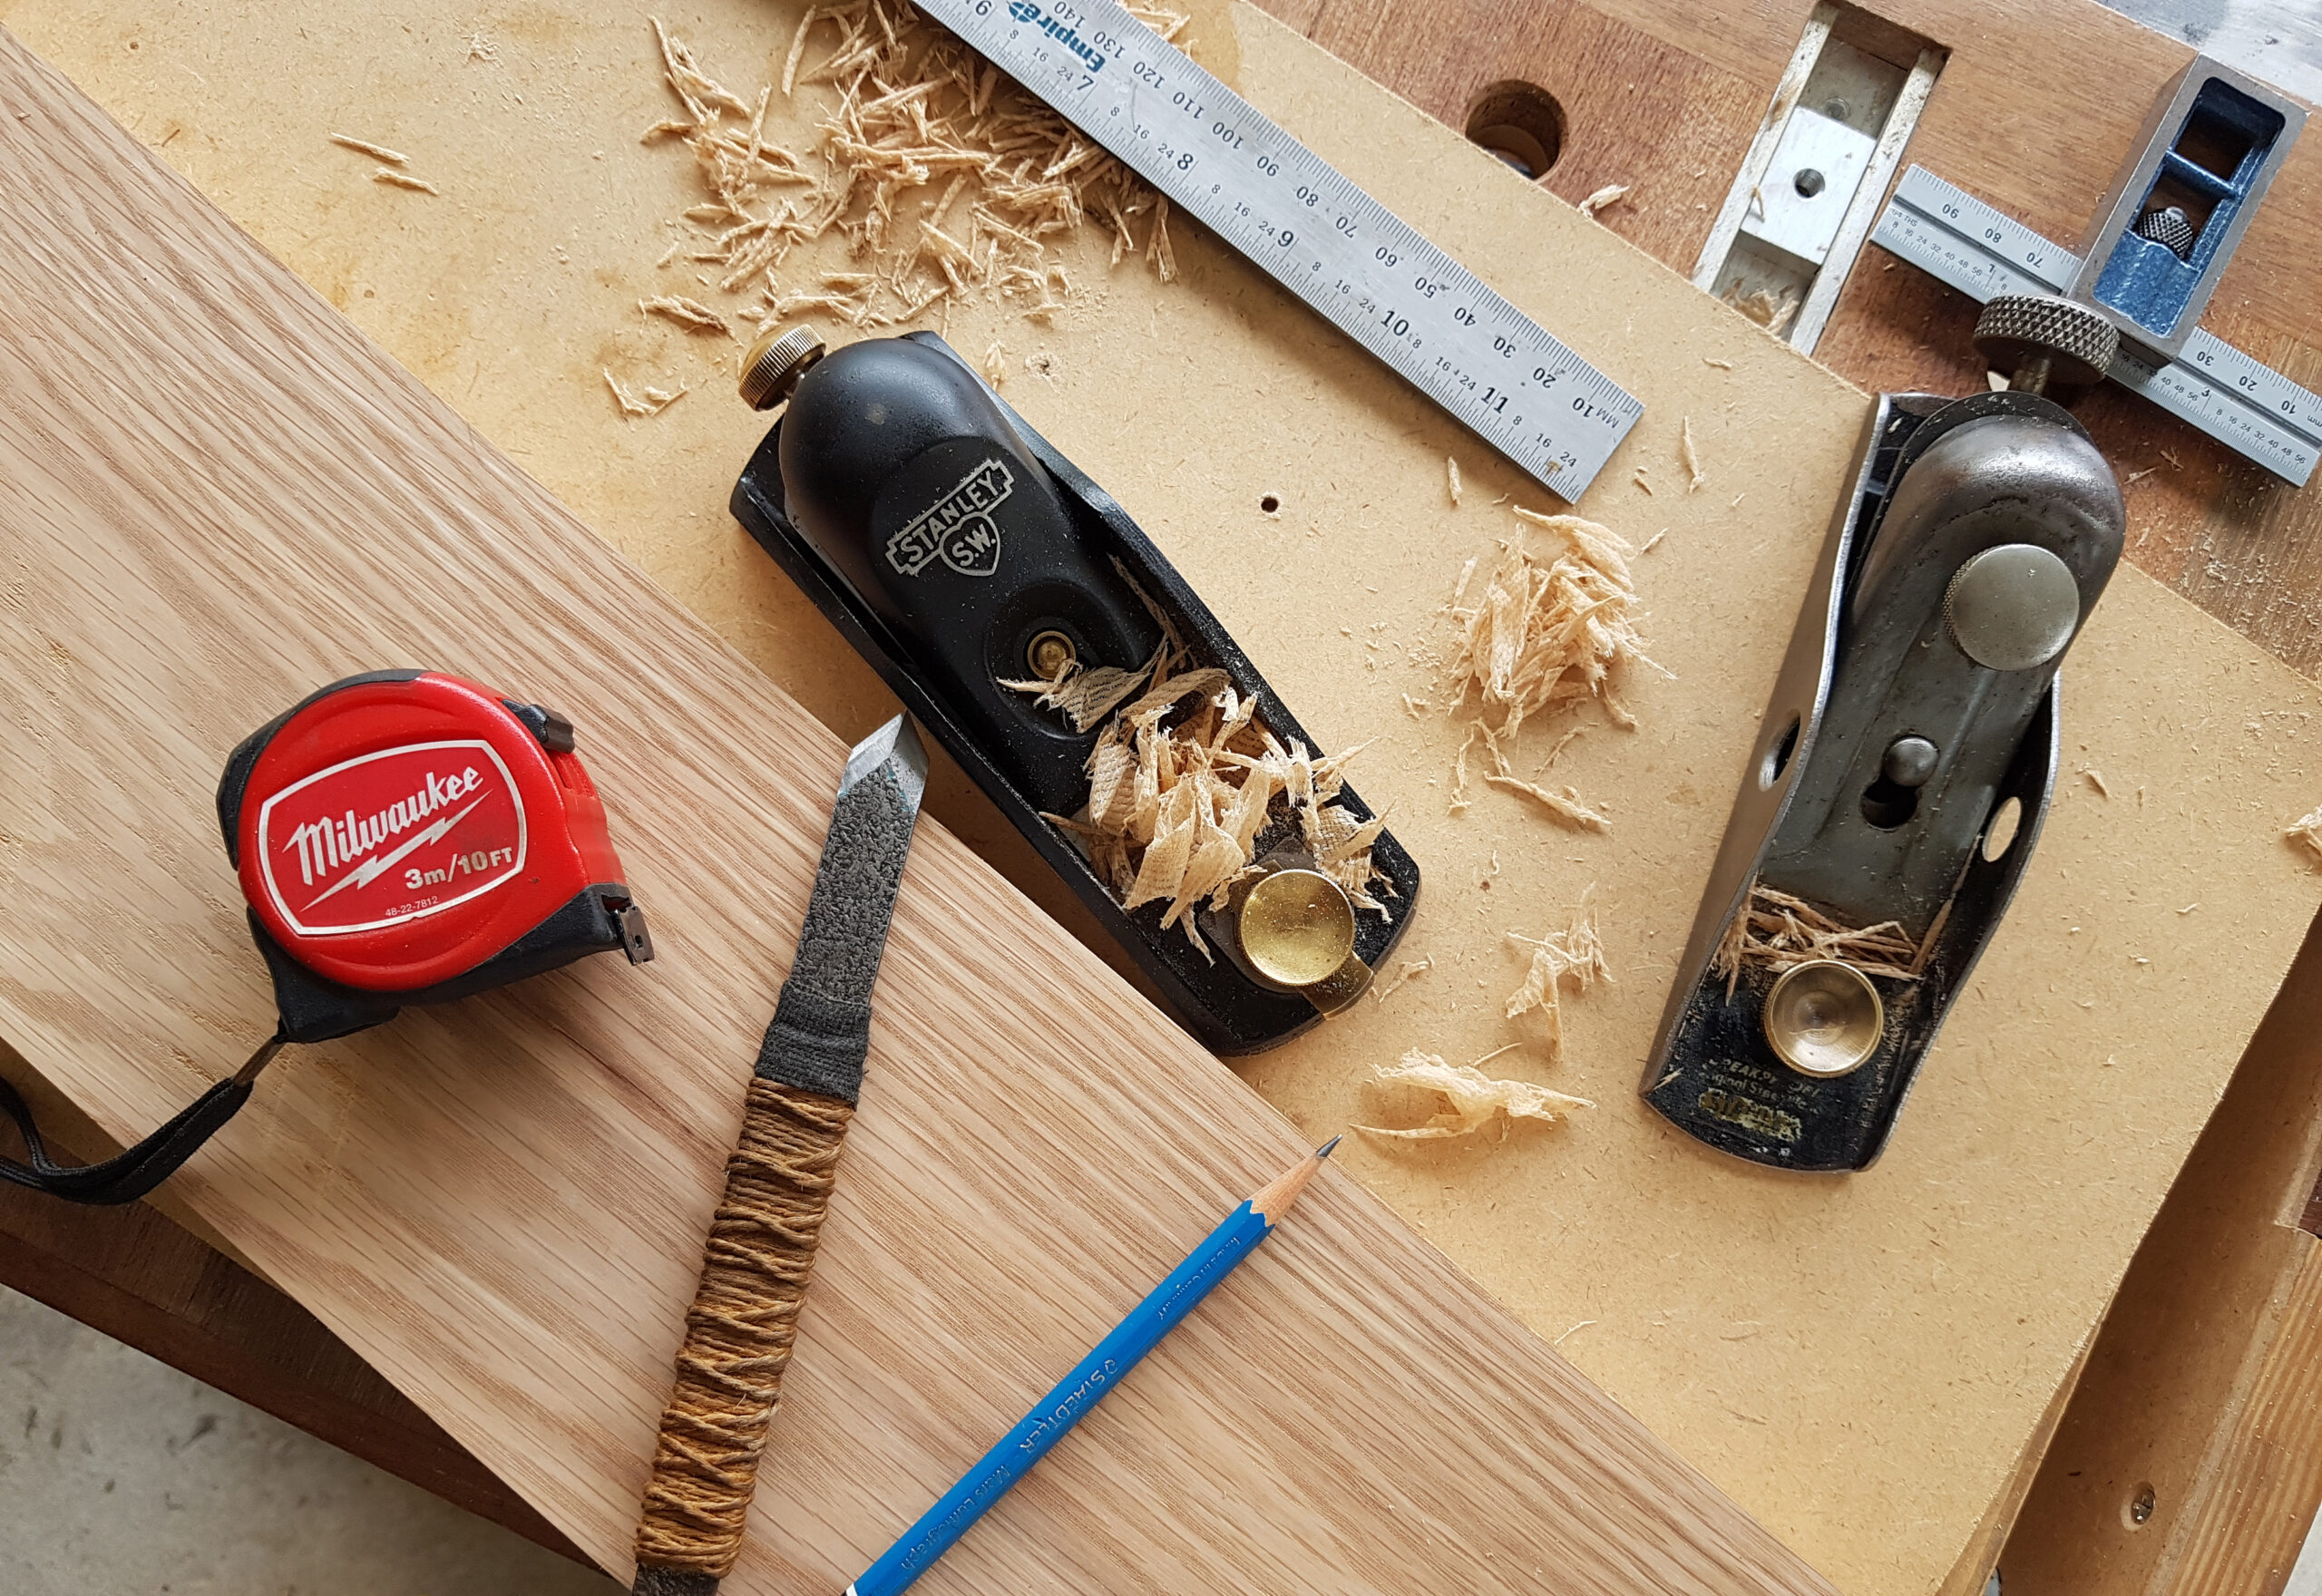
Tools I Use:
- UNI-T UT89X Digital Multimeter: Aliexpress | Shopee Thailand
- ARROWMAX Electric Cordless Screwdriver (SES): Aliexpress
- XTAR PB2C Portable 18650 Battery Charger – Power Bank: Aliexpress | Shopee Thailand
How to Make:
The enclosure consisted of three 3d print parts. The main case, and top and bottom cover. Prepare the 3D print parts starting with the main enclosure. Inserting M3xD5xH4 hot melt heat-insert nuts into all the provided holes. There are 4 holes on the top and 5 on the bottom. Set the soldering iron temperature to match your printed filament. Use conical soldering iron tips to push the nut into place.

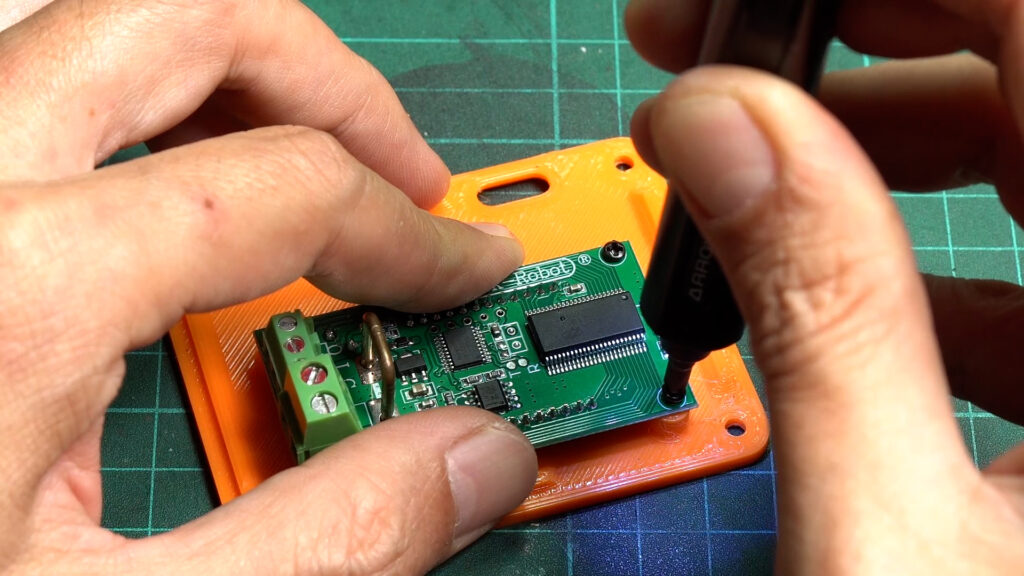
For the top cover, attached the meter board to the top cover using four M2 button head screws.

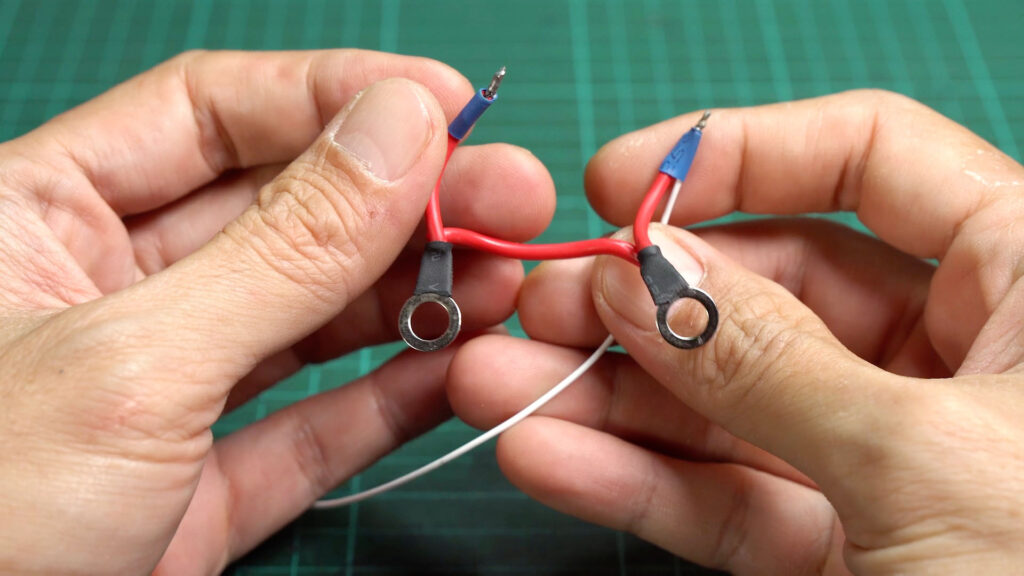
Start the wiring with the battery and load connector. On each 4mm banana terminal, I use 2 wires twisted together and solder to the banana jack’s ring connector. For the red socket, one of the wires will connect together. And another end, that will connect to the screw terminal. After finishing, mount them to the enclosure using provided nuts.
Next, use a utility knife to cut off 2 blocks from the screw terminal strip. And trim out some plastic at the front screw holes to shorten the block to match the enclosure. Then use sandpaper to smoothen the edge. Mount them to the enclosure with M2.5 self-tap screws.

Prewire the 5.5×2.1 DC socket and KCD11 rocker switch with 24 AWG wires and insert them into the enclosure.
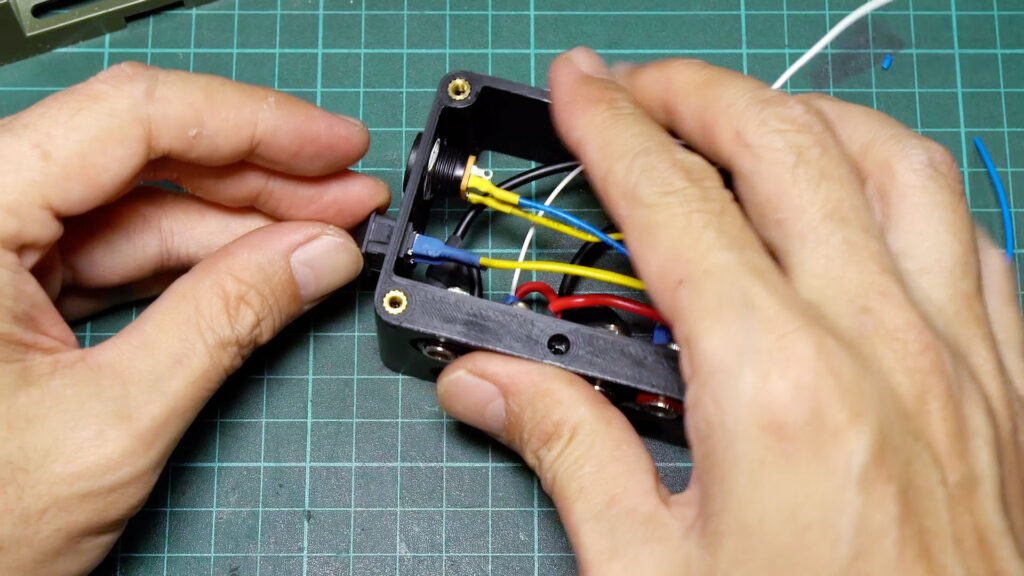
Connect all the wires, according to the diagram, to the selector switch and mount the switch to the bottom cover with M2x5 button head screws.

Connect all the wires to the meter board terminal and close the top cover. Then secure it with M3x10 button head screws.


SUBSCRIBE TO THE CHANNEL: http://shorturl.at/gikA4
FACEBOOK: https://www.facebook.com/simplymakerth
INSTAGRAM: https://www.instagram.com/simplymakerth
WEBSITE: https://www.simplymaker.net
This video is intended to share ideas and inspire DIY projects. While we’ve taken care to provide accurate information, we are not responsible for any losses, damage, or injuries that may result from following the instructions or using the content. Please proceed with caution and follow safety guidelines when working on your projects.
DISCLAIMER