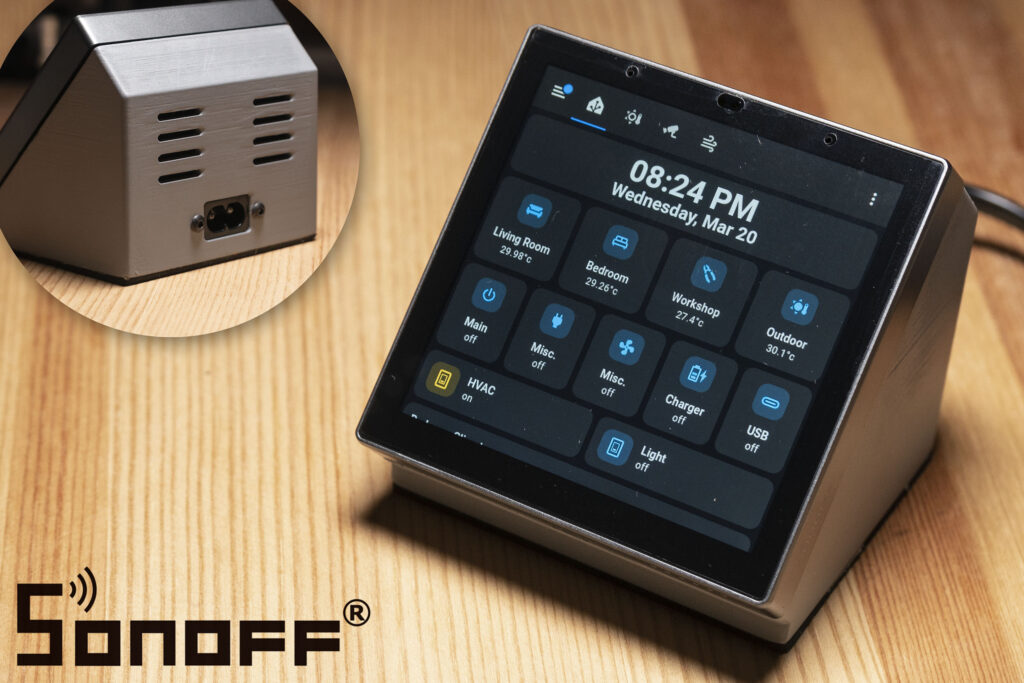
The SONOFF NSPanel Pro smart panel, originally designed for wall mounting and powered by the main AC. However, with the 3D print enclosure, you’ll have the freedom to move it around while ensuring safety from the main power source.
Additionally, I’ve incorporated an AC socket into the design, allowing for easy removal of the power cord when needed. Optionally, you can also add an inline switch for convenient device reset without the hassle of unplugging.
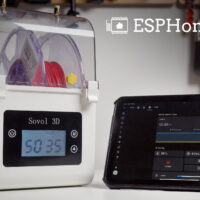
The SONOFF NSPanel Pro operates on the Android OS, opening up opportunities for customisation such as running a Home Assistant companion app. If you’re interested in exploring this further, I’ve included links to helpful tutorials in the video description below.
COMPONENTS FOR THIS PROJECT
- SONOFF NSPanel Pro: Aliexpress | Shopee Thailand
- IEC320 C8 AC Socket: Aliexpress | Shopee Thailand
- Hot Melt Insert Nut (M3xD4.2xL3): Aliexpress | Shopee Thailand
- Inline Switch IEC 320 C8 to C7: Aliexpress | Shopee Thailand
- IEC C7 Power Extension Cord: Aliexpress | Shopee Thailand
- Button Head M3 10mm Screws (4x):
- M3 Nuts (2x):
- Some AC wires:
3D PRINT PARTS
- Printable.com: Sonoff NSPanel Pro Custom Enclosure
- Thingiverse.com: Sonoff NSPanel Pro Custom Enclosure

FILAMENT USE IN THIS PROJECT
- eSun ABS+: Aliexpress | Shopee Thailand
- eSun PETG: Aliexpress | Shopee Thailand
GUIDE FOR INSTALL HOME ASSISTANT ON NSPanel Pro
Update – Dec 2024:
With the release of firmware version 3.7.0 (or later), the NSPanel Pro now officially supports Home Assistant natively — so there’s no longer any need to enable ADB, which could void your warranty or prevent future updates.
- Original Hack by Blakadder: https://blakadder.com/nspanel-pro-sideload/
- Updated Guide and Tool I use: https://github.com/seaky/nspanel_pro_roottool_apk
WARNING: This project involves working with AC power, which can be dangerous and potentially lethal if proper safety precautions are not taken. Please ensure that you have a solid understanding of electrical safety before attempting this project. If you are unsure or uncomfortable working with AC power, please seek the assistance of a qualified electrician. Always disconnect the power source and discharge any capacitors before working on any electrical circuit. Failure to take appropriate safety measures can result in serious injury or death.
DISCLAIMER: This video and description contain affiliate links that support our channel. We are not responsible for any losses, damage, or injury in connection with the use of our content.


I don’t suppose you sell these anywhere? Or for the US version? I bought their pre-made stand, but I’m having trouble getting it to power with an open-ended wire power adapter that should be sufficient power (so says my Electrician). I no longer have a 3D printer so I’m getting frustrated at this point.