Introduction
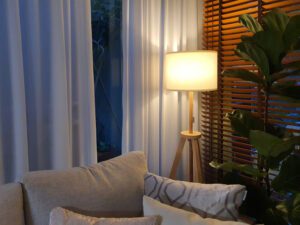
I recently got a new IKEA floor lamp for my living room and wanted to make it dimmable and connect it to my Home Assistant setup. I picked up the MOES 1-Channel Zigbee Dimmer from AliExpress, it’s a handy little module that makes turning a regular lamp into a smart one super easy.
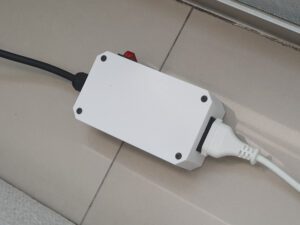
The only problem was: there wasn’t enough space in the wall outlet near the lamp to install the dimmer module, and I didn’t want to cut into the wall or do extra electrical work. So, I designed and 3D-printed a custom case to house the module.
Now, I can just plug the case into any wall outlet and connect the lamp directly to it. That’s it—no need to modify the lamp or the wiring.
This setup gives me full smart control and dimming through Home Assistant, and the best part is, it’s completely portable. I can easily unplug it and move it to use with another lamp whenever I want.
Material List

3D PRINT PARTS
ELECTRONIC COMPONENTS AND FASTENING
FILAMENT USE IN THIS PROJECT
- eSun PLA+: Aliexpress
- eSun PETG: Aliexpress
- eSun ABS+: Aliexpress
WARNING:
This project involves working with AC power, which can be dangerous and potentially lethal if proper safety precautions are not taken.
Please ensure that you have a solid understanding of electrical safety before attempting this project. If you are unsure or uncomfortable working with AC power, please seek the assistance of a qualified electrician.
Always disconnect the power source and discharge any capacitors before working on any electrical circuit. Failure to take appropriate safety measures can result in serious injury or death.
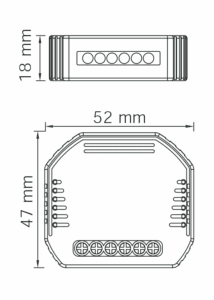
MOES SMART DIMMER SPECIFICATIONS
- Model: MS-105Z
- Product Type: Smart Dimmer Module
- Wireless Protocol: ZigBee 3.0
- Operation Temp.: -10ºC – +40ºC
- Case Temp. Tc: +80ºC (Max.)
- Dims (WxDxH): 52x47x18 mm
- IP Rating IP20
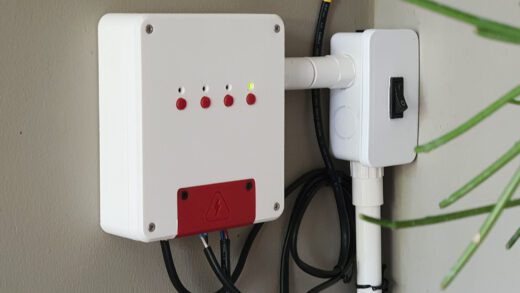
A 3D Printed Enclosure
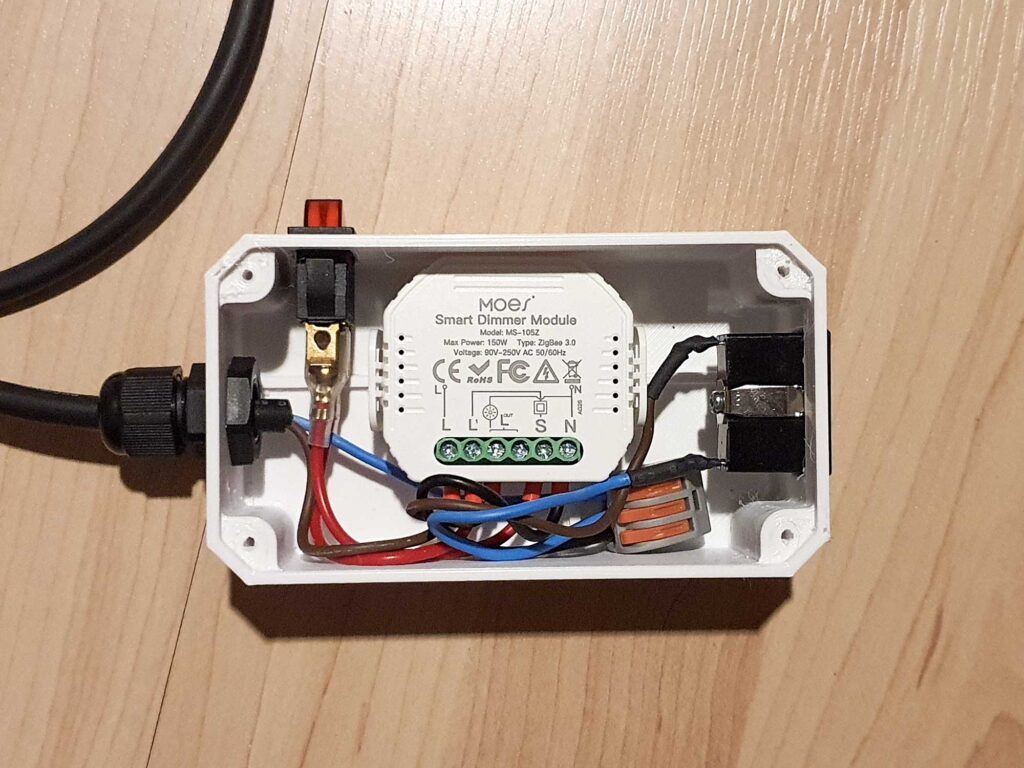
The dimmer module is mounted inside the case using the bracket that comes with it. I designed the mounting holes with 30mm spacing, so this case could also be compatible with other Wi-Fi or Zigbee switch modules that have a similar size and mounting layout.

The KCD3 rocker switch and the AC outlet both snap securely into the case—no screws needed. This makes assembly quick and clean, with a snug fit that holds everything in place.
The switch isn’t just for manual control, it’s also essential for putting the Zigbee module into pairing mode. To reset or re-pair the device, simply toggle the switch 10 times. No need to open the case or access any hidden buttons.
For the AC input wires, there’s an optional spot for a cable gland to keep the wires secure and protected. You can also use a cable grommet or strain relief bushing instead, depending on your preference.
The case doesn’t come with a pre-drilled hole for this, but I’ve included a drill mark on the model to guide where to drill. You’ll need to use a step drill to create a hole that matches the size of your chosen fitting.
Note: If your lamp uses an LED bulb, make sure it’s a dimmable LED. Non-dimmable bulbs might flicker or not respond properly to the dimmer.

Wiring Diagram

Conclusion
This DIY inline dimmer setup is a simple and flexible solution for adding smart dimming to your lamps—especially when in-wall installation isn’t possible or practical. With a 3D-printed case, a Zigbee dimmer module, and a few basic components, you get a safe, portable device that works seamlessly with Home Assistant.
It’s perfect for renters, temporary setups, or anyone who wants to avoid cutting into walls. Just plug it in, pair it, and enjoy dimmable smart lighting wherever you need it. And since everything is modular, you can easily move it to another lamp anytime.
This content included affiliate links. This means, if you purchase through these links, I earn a small commission at no extra cost to you. I personally buy from these suppliers and trust their products, so I’m happy to recommend them.
About Affiliate Links
If you enjoy my projects and feel comfortable shopping on AliExpress, please consider using these links. Your support helps fund the channel and enables me to create more exciting DIY content.
Thank you!