Introduction
The RELIFE RL-601L PCB is a compact PCB fixture design for rework Phone PCB, CPU or logic board. It’s pretty solid with CNC metal base and on the top surface is cover with heat-resistant materials to handle high-temperature for the tasks like reworking with a hot air gun.
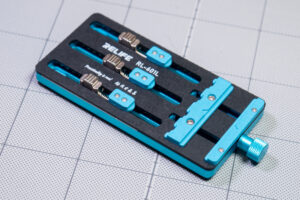
What makes this fixture unique is its included quick-release clamps on one side, in addition to the traditional knob-tightening system. The quick-release clamp allow you to just push the button and slide the clamp jaw to fix work piece in place. The three independent small clamps are design for securing irregularly shaped PCBs.
However, I quickly found that the original clamp jaws were too thin for my needs, as they’re designed specifically for slim logic boards. Thankfully, the jaws are mounted with screws, making them easy to modify. So, I decided to design and 3D print a custom part to modify the fixture, making it better suit my projects.
Designing the Custom Jaws
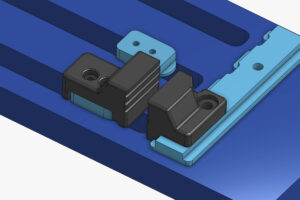
Since I often work with ESP modules and custom PCBs with through-hole (THT) components, I needed a solution that could hold PCB boards with taller components. The PCB should clamp about 1.5-2 cm from top surface to work comfortably. The solution was to design 3D-printed parts that can be mounted on top of the original ones, allowing me to still use the quick-release feature.
Additionally, I expanded the surface area of the clamps and added slots to make a better grip on the work piece. This also perfect to working with wires, the new jaws keep wires straight, making the fixture versatile for both PCB work and wire splicing tasks.
COMPONENT FOR THIS PROJECT
- RELIFE RL-601L PCB Fixture:Aliexpress | Shopee Thailand
- 10mm M2.5 Screw (x4): Aliexpress | Shopee Thailand
- 10mm M3 Screws (x2): Aliexpress | Shopee Thailand
3D Print Parts:
- Thingiverse.com: Upgrade Parts for RELIFE RL-601L Fixture
- Printable.com: Upgrade Parts for RELIFE RL-601L Fixture
TOOLS I USE IN THIS PROJECT
- ARROWMAX Electric Cordless Screwdriver (SES): Aliexpress
Filament I Use
- eSun ABS+: Aliexpress | Shopee Thailand
Making a Custom Jaws
I printed the custom jaws using eSun ABS+ filament, which is rigid, durable, and can handle moderate heat. I found it print a lot easier than standard ABS with much less odor. However, these 3D-printed parts won’t withstand the direct heat from a hot air gun, so if you’re doing high-temperature rework, you’ll need to switch back to the original jaws.
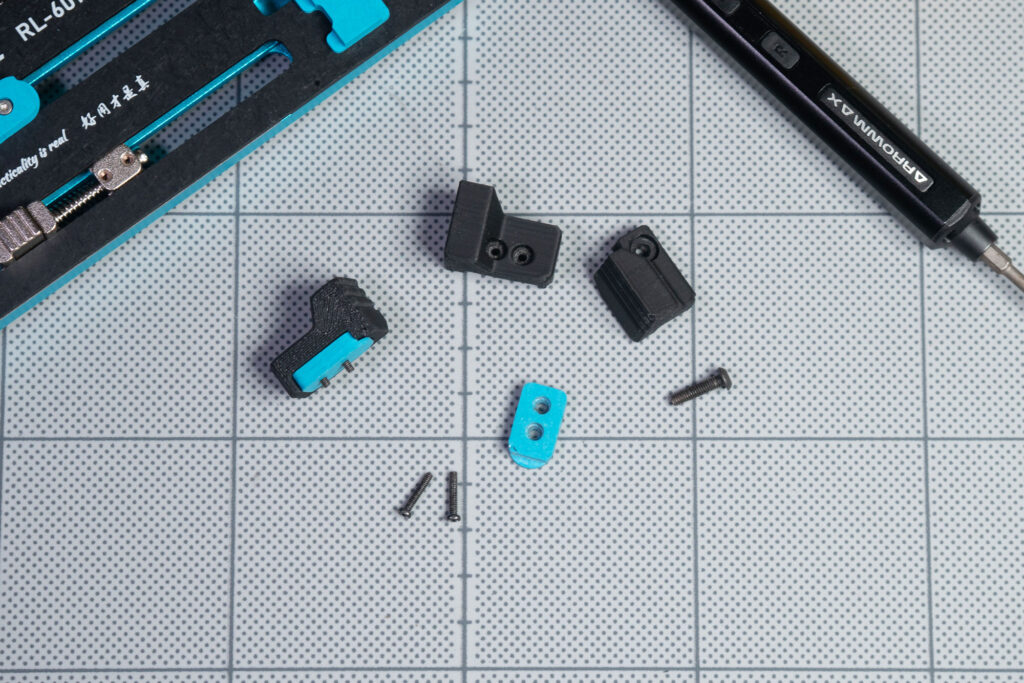
To install the custom jaw you will need longer M2.5 for small jaws and M3 for large jaw. Installing the custom jaws is straightforward just unscrew the original screws and place the 3D-print part on top and secure it with the longer screws.
Conclusion
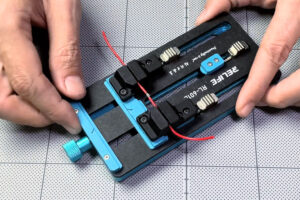
With the new raised jaws on the RELIFE fixture, soldering has become much easier. It’s far more stable compared to using traditional alligator clips. It makes the whole process smoother and gives better results. The sliding clamp also helps secure and release the workpiece faster and with less hassle.
Another advantage of this upgrade is when I’m working with connectors or other flat components. I can rest them on the fixture base to keep them flat against the PCB while soldering.
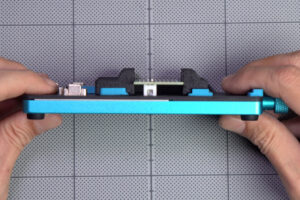
The wider clamping slot not only holds components more securely, but it’s also great for working with wires. It keeps the wire straight and steady, making wire splicing much easier.
With just a few modifications, this fixture has become the best compact helping hand I’ve ever used. It allows me to mount the workpiece stably and effortlessly, resulting in better outcomes for my electronics projects.
Some links in this content are affiliate links, meaning that if you make a purchase through them, I’ll earn a small commission at no additional cost to you.
About Affiliate Links
If you’re comfortable shopping on AliExpress and enjoy my project, feel free to use the links provided. Your support helps fund this channel, allowing me to create more exciting DIY projects for you!


