Introduction
I recently got the Turbo Jet Fan X3 from AliExpress, and I must say, I’m really impressed with its performance. It’s compact yet powerful, making it ideal for use around my workshop.
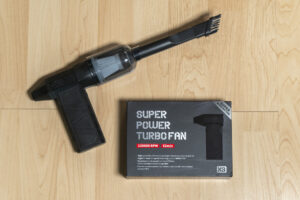
To expand its functionality, I also picked up a vacuum attachment, which lets me use it as a small vacuum cleaner—perfect for cleaning up my workbench.
However, I feel that the included nozzle’s air outlet is a bit too large for more precise tasks. Sometimes, I need to direct the airflow to a specific spot, and the wide nozzle doesn’t quite allow that.
That led me on a search for an alternative nozzle, and I came across an excellent design by Modu on Printables.com. Modu’s design really caught my attention, especially the inner cone, which I believe helps increase air pressure.
However, the need to insert magnets between the print layers felt inconvenient. Moreover I like the straight shape of the original nozzle more than the curved one, so I decided to remix it to better suit my needs.
Change Summary
To make the design better suited to my preferences, I decided to remix the nozzle. Here’s what I changed:
- Modular Design with Screws: Instead of embedding magnets during the print, I split the model into separate pieces that are secured with M1.5×6 self-tapping screws. This makes it much easier to assemble and allows for more flexibility if I want to tweak things in the future.
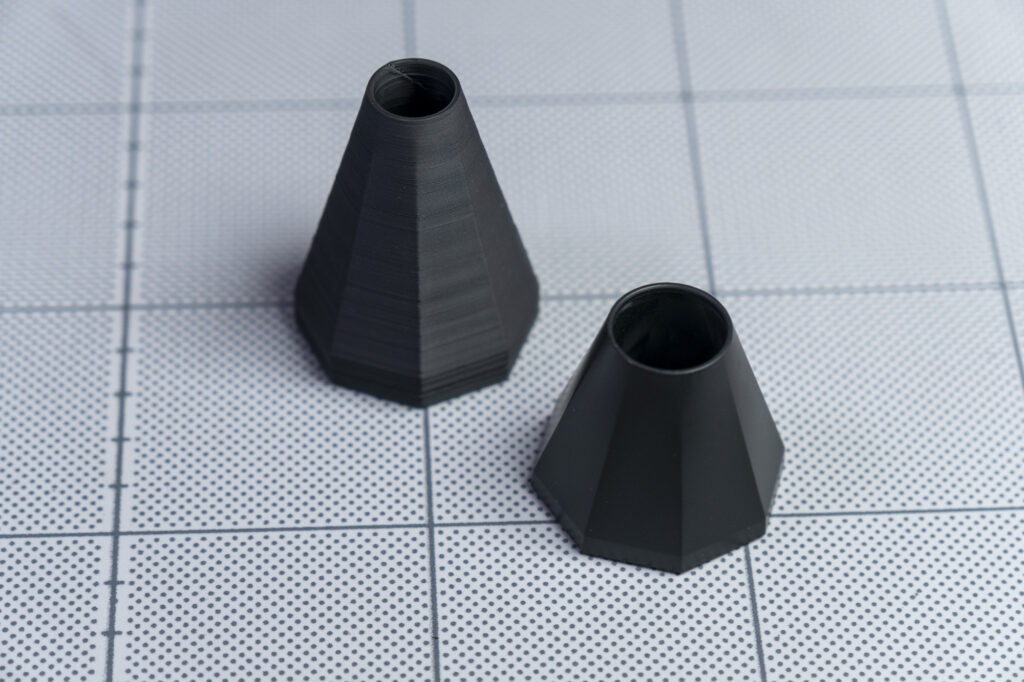
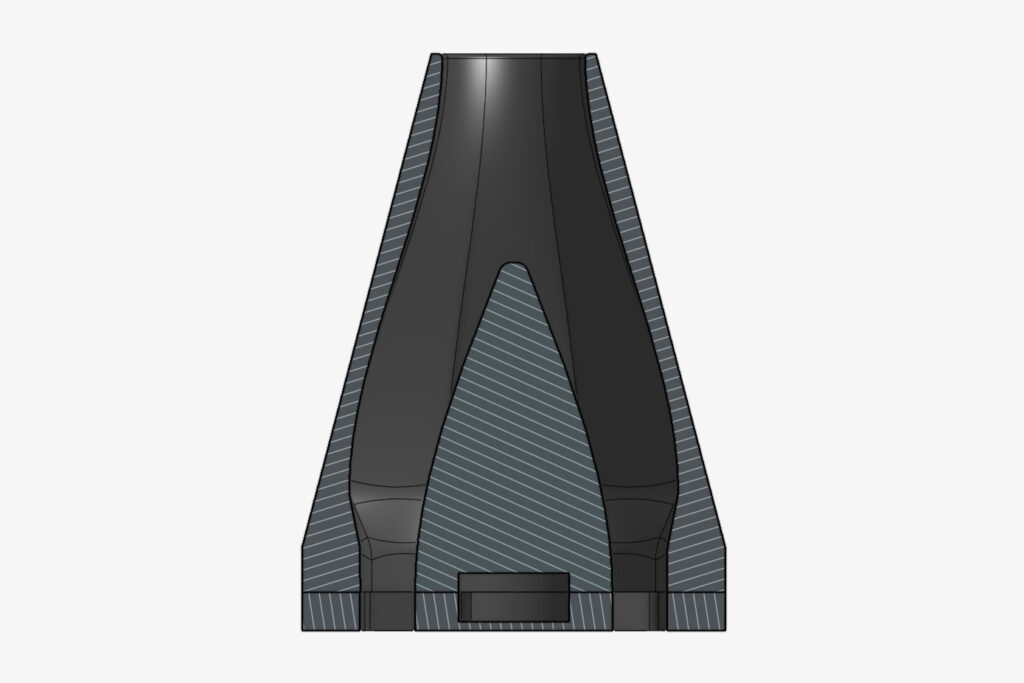
- Simplified Outer Cone: Modu’s design features a curved outer cone, but I wanted to stick closer to the original nozzle design. I straightened the outer cone while keeping the inner wall curved to maintain the air pressure boost that the original design aimed for.
- Magnet Adjustment: I didn’t have the 10x3mm magnets on hand, so I modified the design to accommodate two 10x2mm magnets, which I already had. This small change saved me the trouble of sourcing new magnets and worked just as effectively.
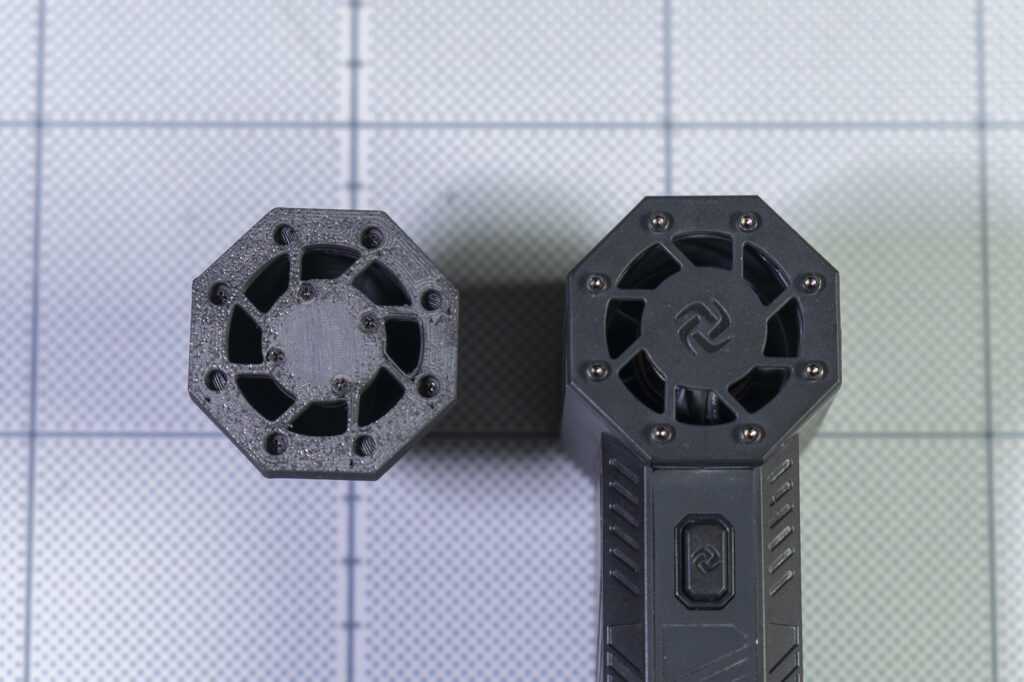
- Rework Fan Grill: One final detail I noticed was that Modu’s nozzle design included an 11-section fan grill, while the Turbo Jet Fan X3’s air outlet only has 8 sections. To optimize airflow and prevent any unnecessary blockages, I adjusted the grill to match the 8-section design of the fan. This ensures smoother, more efficient airflow and improves the overall performance.
COMPONENT FOR THIS PROJECT
- Mini Turbo Jet Fan X3: Aliexpress
- 10×2 Neodymium Magnet: Aliexpress
- M1.5×8 Self-tap Screw for Plastic: Aliexpress
- Turbo Jet Fan X3 Vacuum Attachment: Aliexpress
3D PRINT PARTS
- Printable.com: Precision Nozzle for Mini Turbo Jet Fan X3
- Thingiverse.com: Precision Nozzle for Mini Turbo Jet Fan X3
Filament I Use
- eSun ABS+: Aliexpress | Shopee Thailand
ASSEMBLY THE NOZZLE
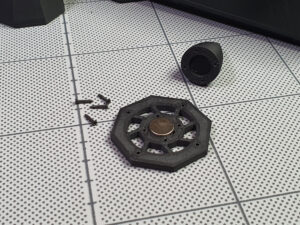
First, stack two 10x2mm magnets together and insert them into the designated slot on the base. The slot is a tight fit, depend on your printer setting, you might need to use a clamp or vise to push the magnets into place. I printed the nozzle using eSun ABS+ for added durability. Make sure to double-check the magnet polarity before moving forward to ensure proper attachment.
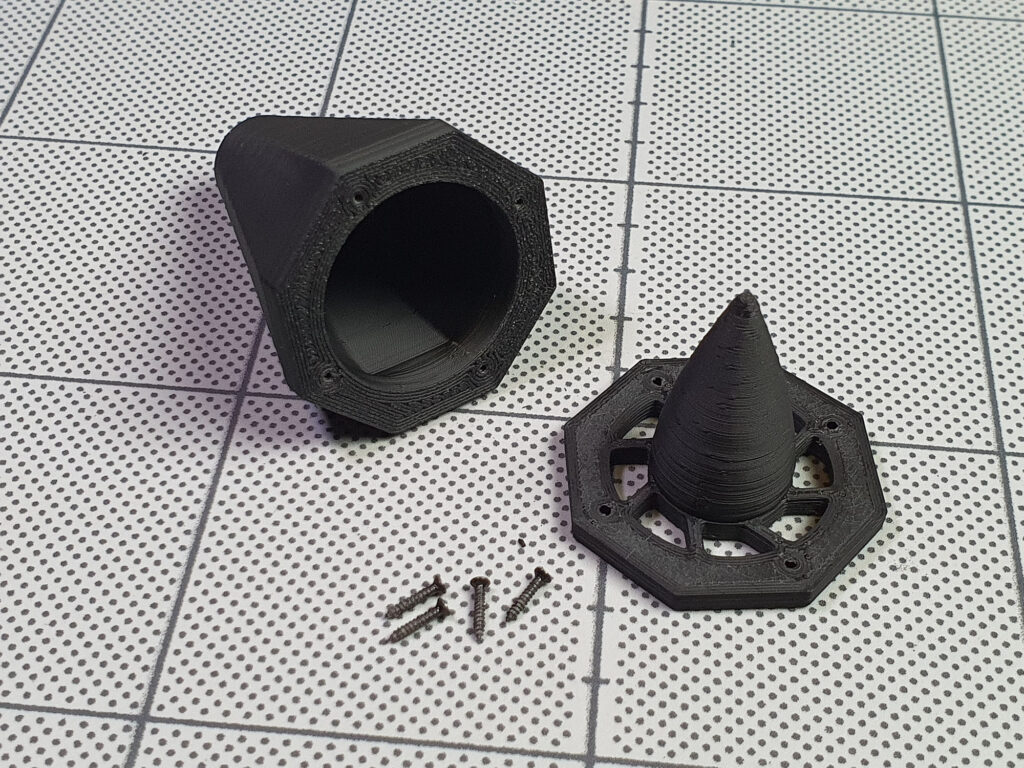
Then, screw the base to the inner cone using M1.5x8mm self-tapping screws. Once the inner cone is firmly in place, attach it to the outer cone by using M1.5 screws. Making sure to tighten just enough for a secure fit without over tightening, which could crack the plastic.
For extra bonding, you may apply AB epoxy between the parts, but keep in mind that this will make permanent and impossible to disassemble.
Conclusion
After making these adjustments, the new nozzle directs the airflow precisely where I need it, and the overall performance has significantly improved. The modified cone shape and optimized fan grill provide better airflow and increased pressure for more targeted cleaning, especially when focusing on specific areas.
The original nozzle mouth that comes with the fan is about 18mm, while the custom one is around 13mm. Although the size difference may seem minor, the performance improvement is noticeable. Initially, I considered designing an even smaller version with an 8-10mm mouth, but after testing this custom nozzle, I found that the fan’s airflow was already strong enough for my needs.
With the addition of the vacuum attachment, this compact tool becomes even more versatile, making it perfect for cleaning up dust and debris on a workbench or around a workspace. Whether you need strong airflow or a quick clean-up solution, this nozzle upgrade delivers improved performance without sacrificing ease of use.


