Introduction
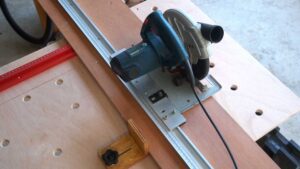
I recently started building a cutting platform for my DIY saw guide using a sheet of plywood, so I can make repeat cuts more conveniently.
On the platform, I wanted to add dog holes so I can quickly attach or remove different fences and accessories, and also use clamps to hold workpieces securely without anything getting in the way.
But I quickly found out that drilling those holes evenly spaced and perfectly square is harder than it seems. So, I decided to design and 3D print a dog hole drilling template to make the job much easier.
Material List

3D PRINT PARTS
COMPONENTS AND TOOLS
FILAMENT USE IN THIS PROJECT
- For Dog Hole Template
eSun PLA+: Aliexpress | eSun PETG: Aliexpress - For Dog
eSun ABS+: Aliexpress
The Design
The template arm is 50 mm wide, and the center of the hole is 25 mm from the edge. The overall size is 150 mm × 250 mm.
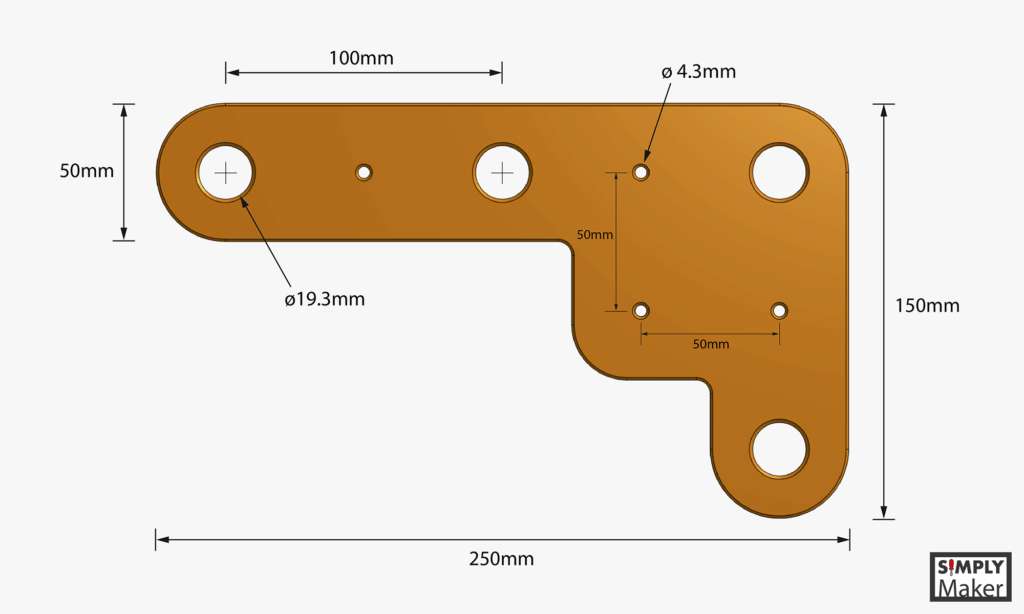
Between each 19 mm hole, I also included a 4.3 mm center mark. You can use these as drill guides or to help locate the exact center between holes.
The first version of the template had a large bevel on the top side. But after using it, I found that when I flipped it over, it was hard to use with a combination square.
So, in the final version I uploaded, I changed the design to have a small bevel on both sides. That way, I can use it comfortably on either side with a thin combination square.
Step-by-Step Video

Using the Template
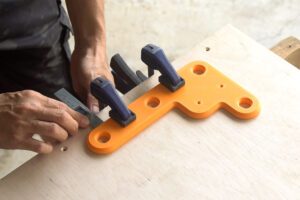
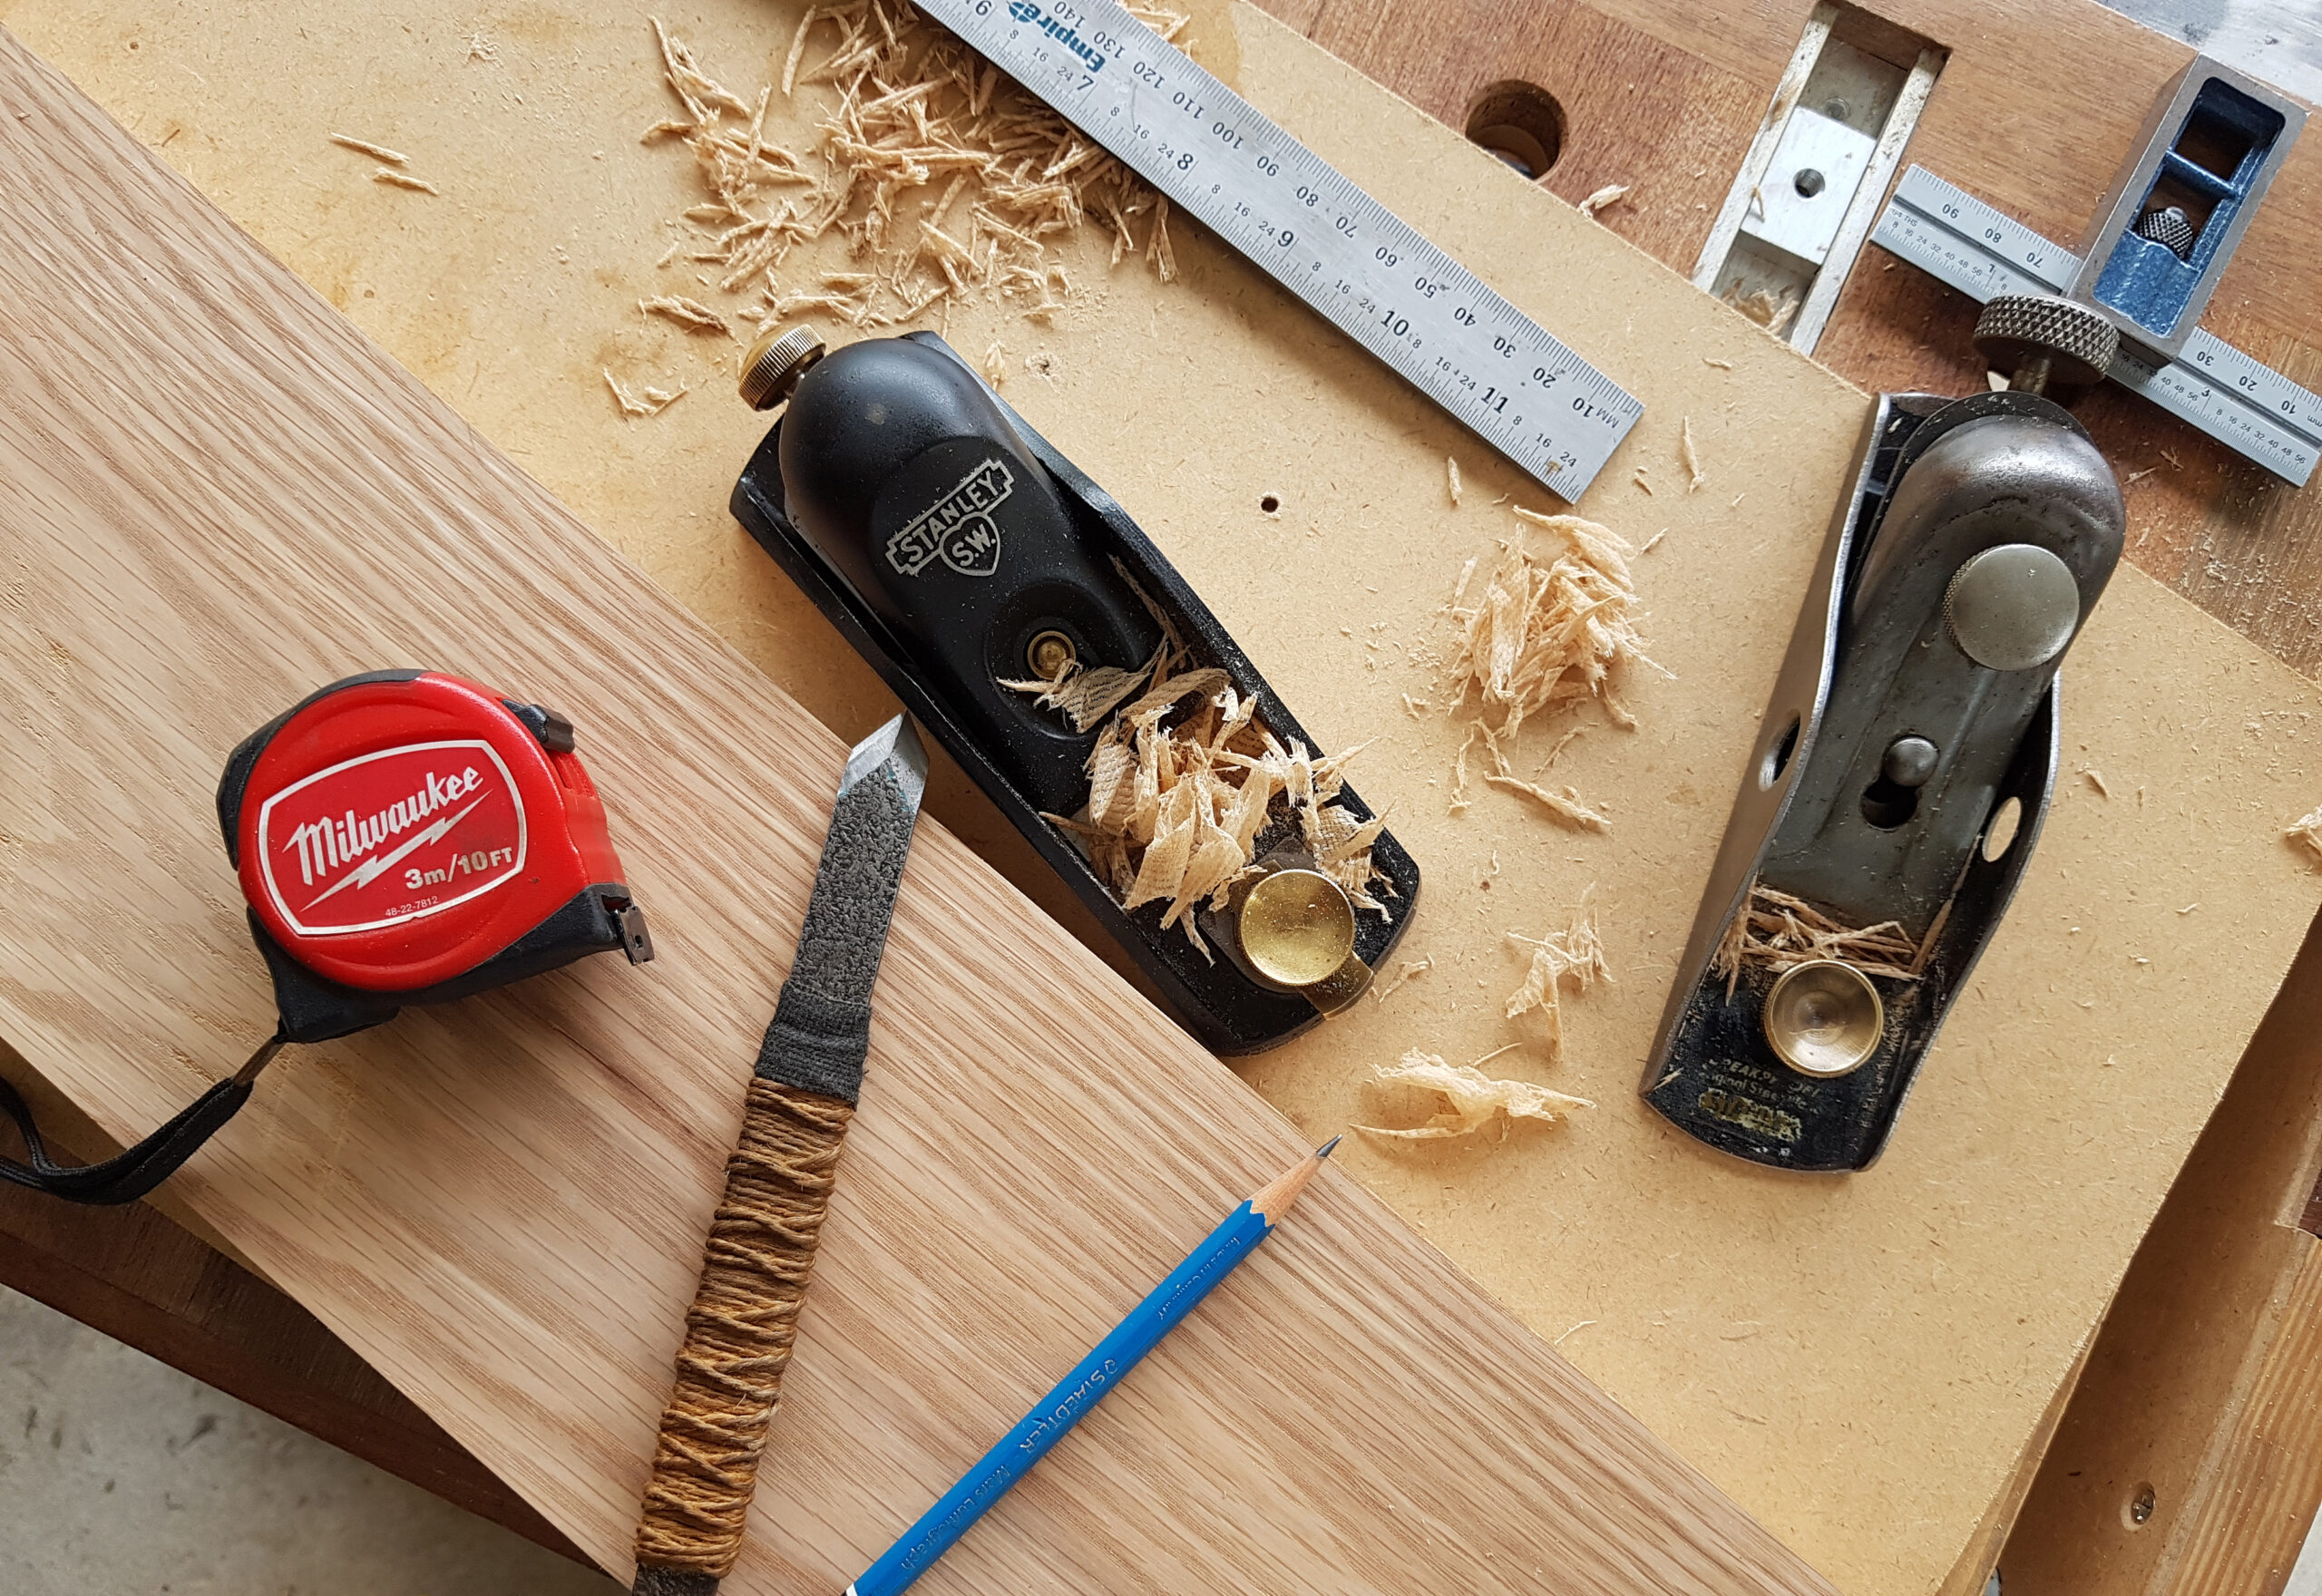
To use the template, I started by marking the position of the first hole. I set my combination square to the desired length and used it to position the template accurately while keeping it perfectly parallel with the long edge of the plywood.
Once everything was aligned, I clamped the template to the plywood. Then I double-checked the position carefully to make sure it hadn’t shifted while clamping and was exactly where I wanted it.
It’s important to confirm that the template is perfectly square to the edge of the board. Take your time with this step — this first set of holes will serve as the reference for the rest of the board.
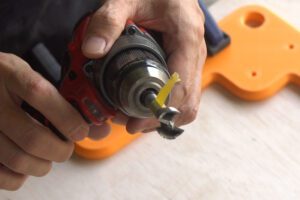
Now I could start drilling the first holes using a ¾-inch Forstner bit. Since I didn’t have a support sheet underneath, I avoided drilling all the way through to prevent tear-out. Instead, I drilled just deep enough to leave a mark on the other side. After finishing all the holes, I flipped the board over and drilled from the opposite side to complete them cleanly.
Once I had drilled all the holes I needed in the current position, I moved the template to the next one. I used a 3D-printed dog to align it with one of the holes I had just drilled and used the same combination square, still set to 25 mm from the first step, to keep the template parallel to the edge.
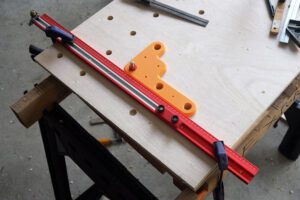
After that, I simply repeated the process across the rest of the board — repositioning the template step by step, keeping it parallel to the edge, and drilling each new set of holes carefully to maintain even spacing and alignment.
For the inner areas of the board, you can also use a long straight edge as a guide to help keep the template aligned. This makes positioning easier and more accurate, especially in places where using a square isn’t possible.
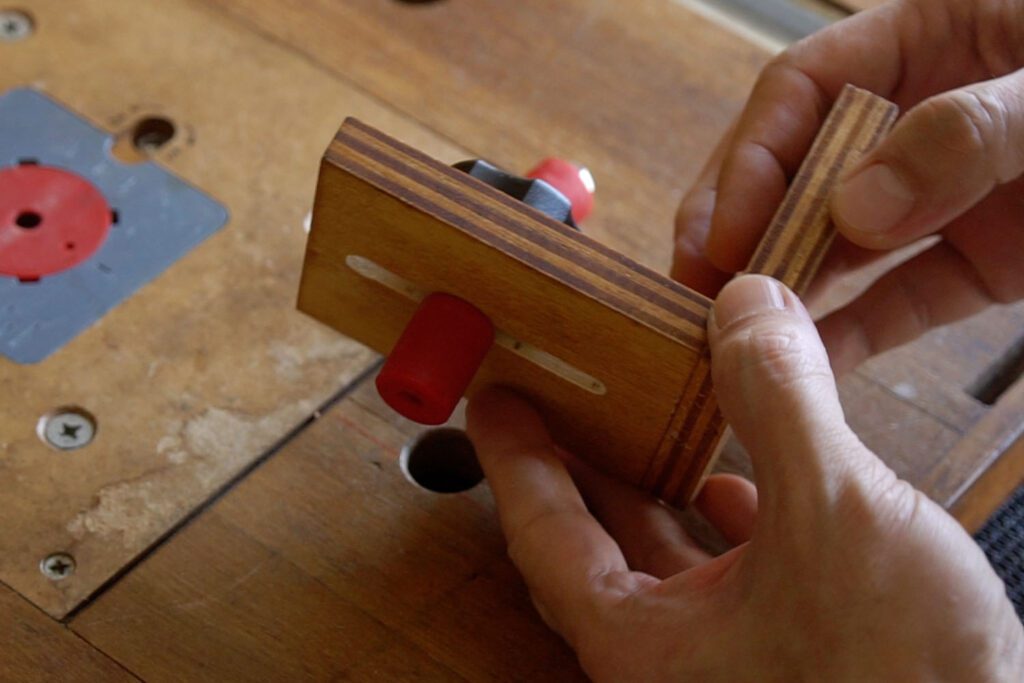
About the 3D-Printed Dog
The 3D-printed dog is 25 mm long with an M6 hole, and it has extra space on one side for an M6 hot melt insert nut. This allows me to mount accessories to the table later on. I recommend printing the dog with a tougher filament than PLA, such as ABS or PETG, since it’s less likely to crack or break.
Conclusion
This simple 3D-printed drilling template makes drilling dog holes faster, easier, and far more accurate, and it’s been super useful in my projects. It’s a small tool that makes a big difference — especially if you’re building your own cutting platform or workbench.