Introduction
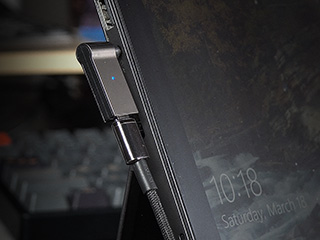
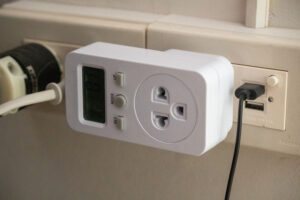
An AC Power Meter, Load Meter, or Watt Meter is a useful tool for monitoring the power consumption of your home appliances. However, budget wall plug meters often come with frustrations—the display may hard to read due to awkward outlet placements, and in some cases, the meter doesn’t fit because of space constraints.
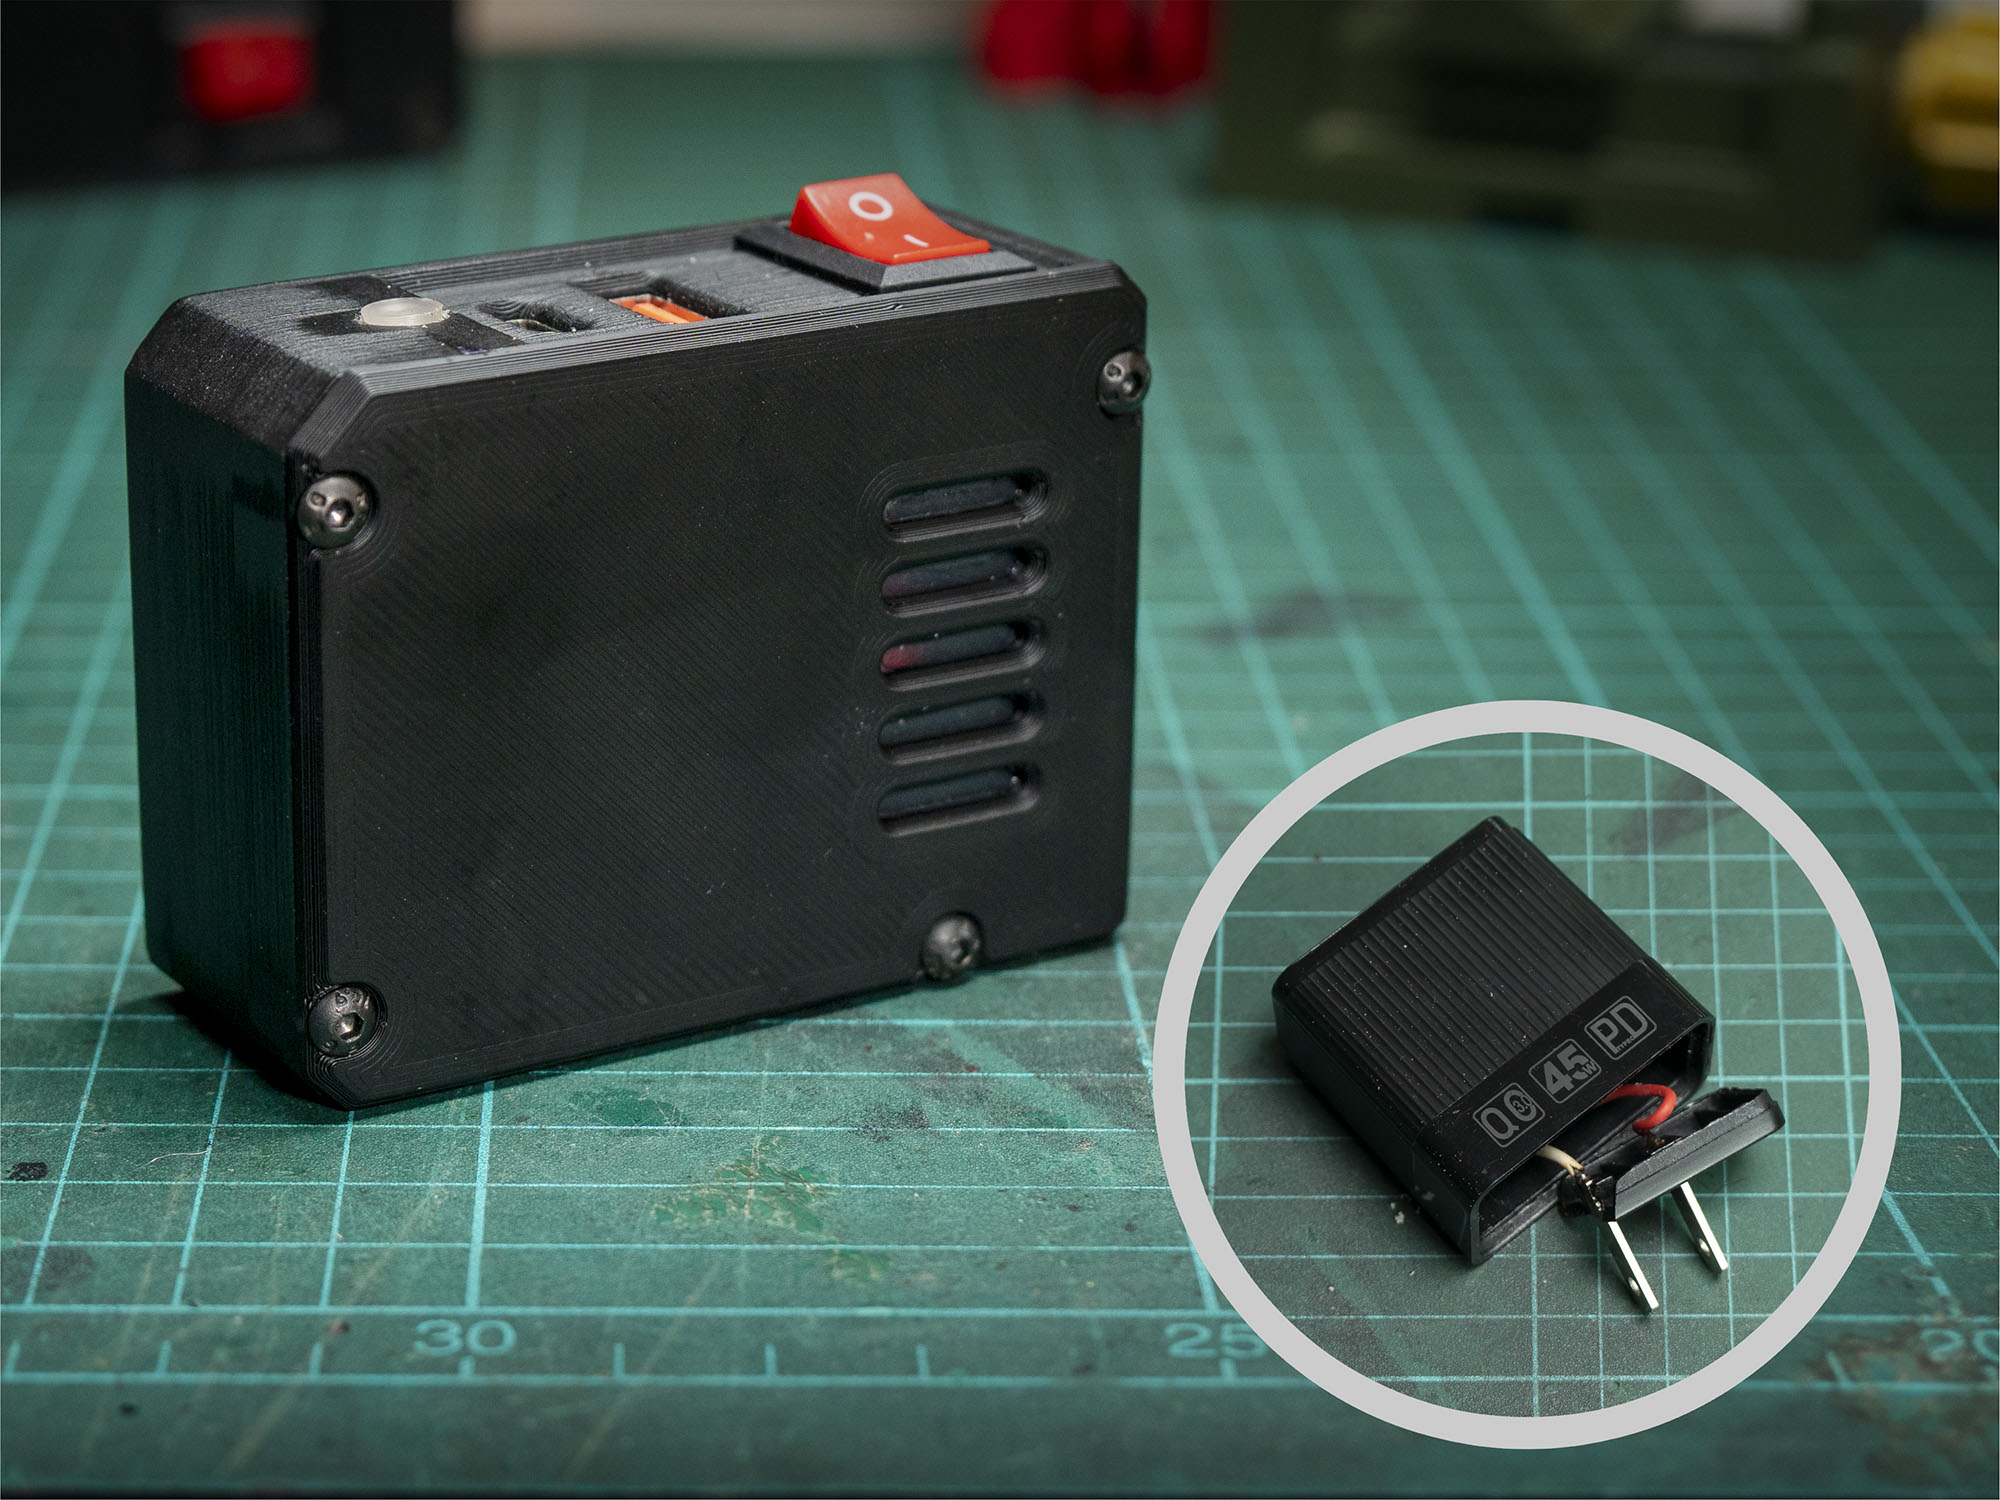
To solve these issues, I designed my own version with extended wires for greater flexibility, making it easier to use and read the display. The 3D-printed enclosure is designed specifically for the KEWEISI KWS-AC300 AC power meter, and to give it a more industrial look, I used a YD-53 IP44 power outlet with a protective cover. For added safety and convenience, I integrated an IEC320 C14 inlet with a fuse and switch.
Additionally, I included TPU-printed end caps to slightly raise the enclosure off the ground, providing better stability and anti-slip properties —though regular PLA also works. However, the end caps are totally optional, and the enclosure functions perfectly fine without them.
Material List


3D PRINT PARTS
ELECTRONIC COMPONENTS
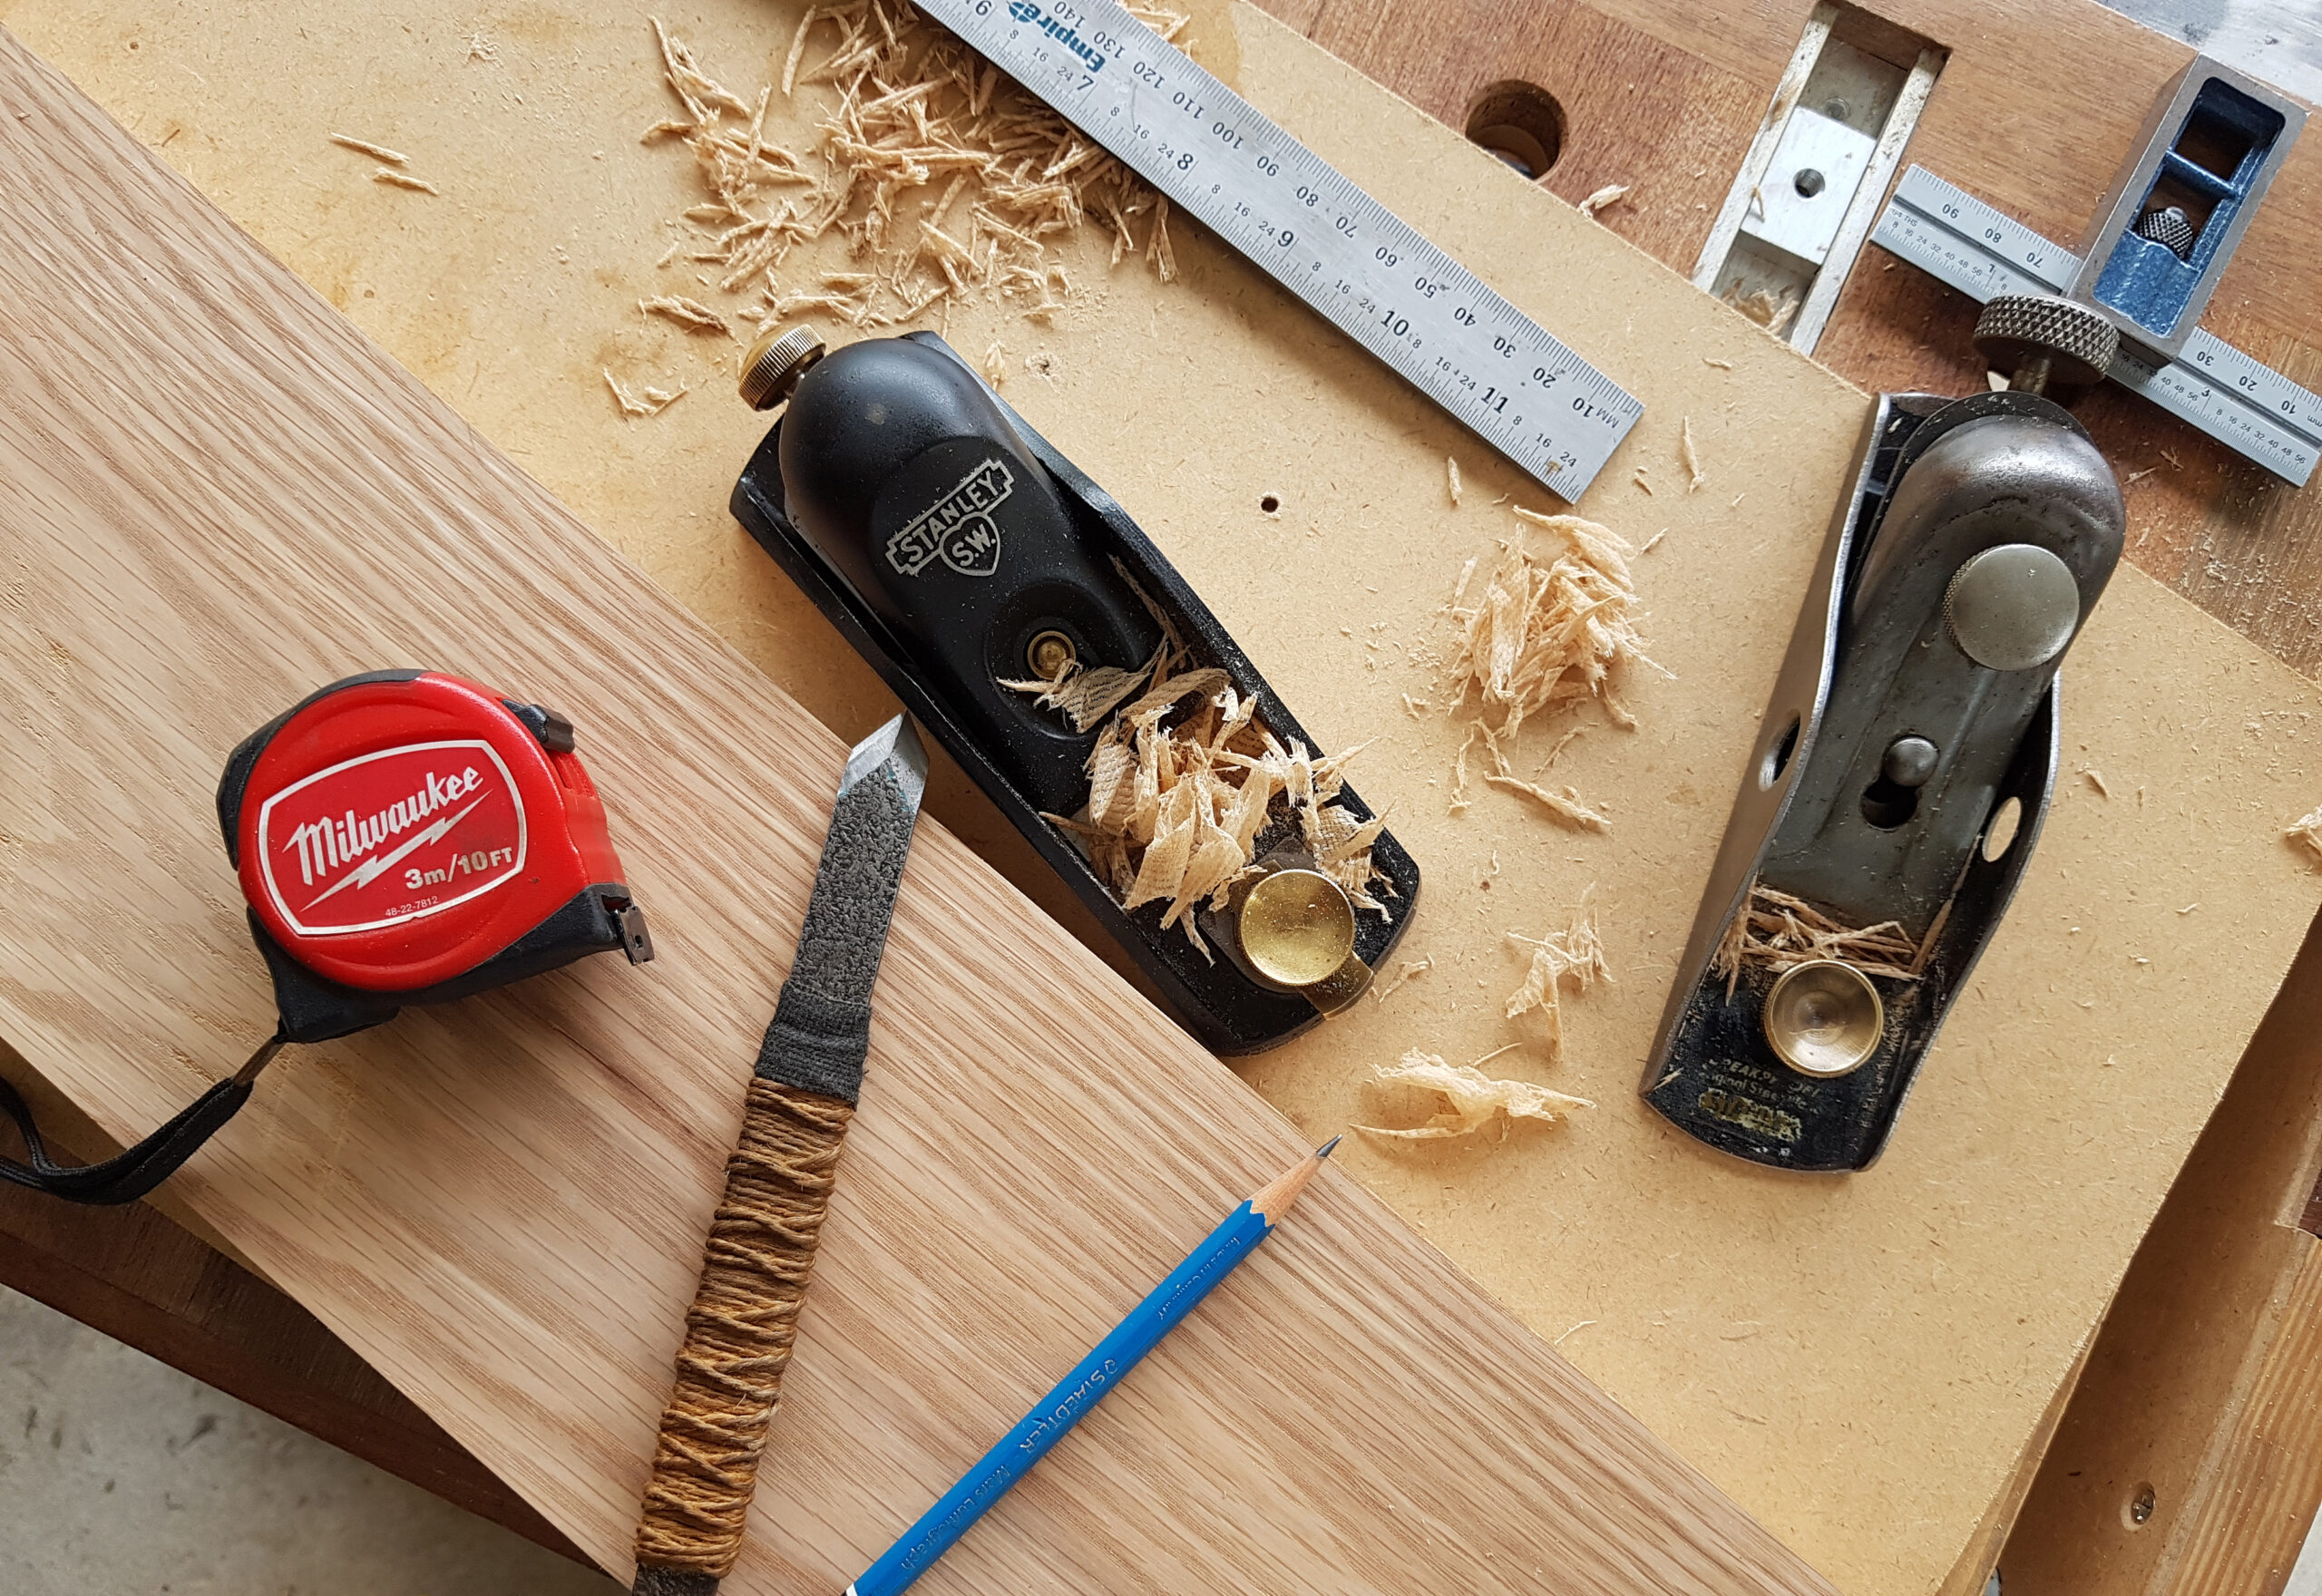
TOOLS, SUPPLY, AND FASTENING
- M4 x 10mm Flat Head Screws (X4): Aliexpress
- M3 x 20mm Socket Head Screws (X4): Aliexpress
- M3 x 12mm Flat Head Screws (X8): Aliexpress
- M3xD5xL4 Brass Hot Melt Insert Nuts (X12): Aliexpress
- Insulated Ferrule Cord End Terminal: Aliexpress
- 4.8mm Brass Spade Connector with Insulation: Aliexpress
- 20mm Glass Tube Fuse: Aliexpress
FILAMENT USE IN THIS PROJECT
- eSun PLA+: Aliexpress
- ANYCUBIC TPU: Aliexpress
WARNING:
This project involves working with AC power, which can be dangerous and potentially lethal if proper safety precautions are not taken.
Please ensure that you have a solid understanding of electrical safety before attempting this project. If you are unsure or uncomfortable working with AC power, please seek the assistance of a qualified electrician.
Always disconnect the power source and discharge any capacitors before working on any electrical circuit. Failure to take appropriate safety measures can result in serious injury or death.
Making the AC Power Meter
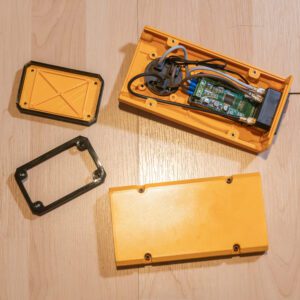
The enclosure consists of 4 main parts, plus 2 TPU end cover. To assemble the case, you will need to insert hot melt screw inserts into the top and bottom parts of the enclosure. There are 8 inserts in total for the top part – 4 to secure the top and bottom together and 4 for attaching the end covers. The bottom part also requires 4 inserts on each end.
Next, install the AC meter and YD-53 outlet to the top printed part. The AC meter is a snap-in component—simply align it with the designated hole and press it in until it fits securely.
The YD-53 outlet is held in place using M4x10mm flat head screws. I recommend tapping the holes beforehand to make installation easier and prevent the plastic to break. For this, I used a combined tap bit, which makes the process fast and simple for plastic parts.
The IEC320 inlet also snaps into place. Install it on the enclosure’s side cover and temporarily attach the side cover to the top part to make wiring easier. The IEC inlet requires a 20mm fuse, and some suppliers may not include it.
The wiring process is straightforward, as most connections use screw terminals. I used 2 Sq.MM wire and crimp them with Ferrules cord end terminals to ensure a strong and reliable connection. Connect the wire according to following diagram.
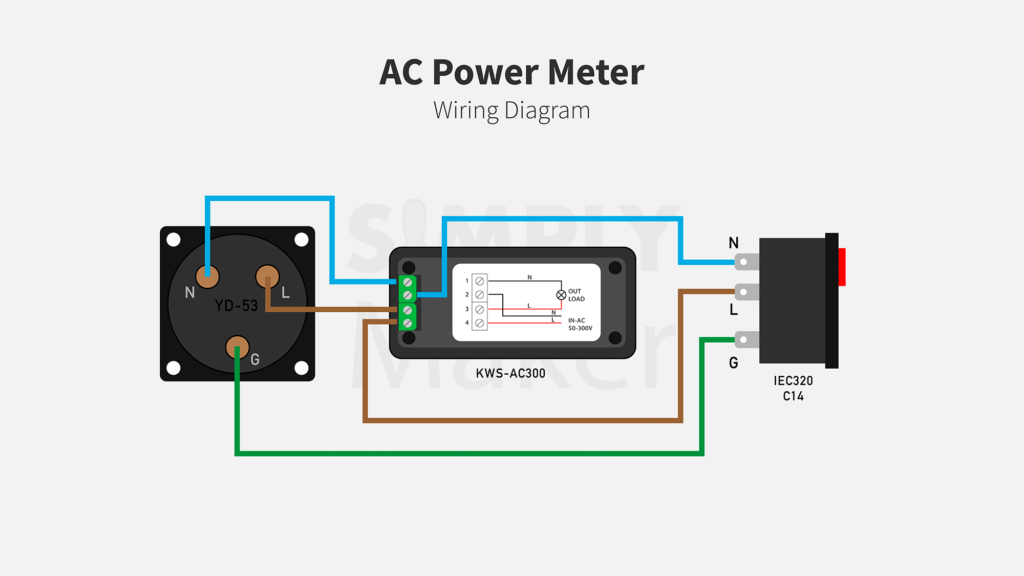
To connect the wire to the IEC inlet, I used 4.8mm brass spade connectors crimped to the wires for easy and secure connection.
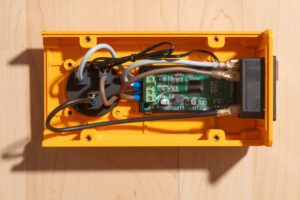
During assembly, I decided to switch from a standard 5-pin IEC inlet to an integral snap-in IEC inlet which have only 3 pins to simplify the wiring. However, I later realized that this inlet was slightly longer than the standard one that refer to when I design the enclosure, causing a small overlap of a couple of millimeters with the AC meter when assembling the case.
To resolve this, I had to remove the back cover of the AC meter to make everything fit. Once the cover was removed, I secured the PCB to the case using hot glue to hold it in place. I’ve updated the final STL file by move the IEC slot a bit lower to give more room.
If you choose to use a standard IEC inlet with 5 or 7 pins, please refer to my previous project for the wiring instruction.
Once everything is wired and in place, close the bottom part and secure it using M3x20mm socket head screws. Attach the side cover and TPU end caps to both ends of the case, securing them with M3x12mm flat head screws. The IEC inlet requires a 20mm fuse, and some suppliers may not include it, so check before using the socket.

Conclusion
This DIY AC power meter enclosure offers a more flexible and practical way to monitor power consumption. It solves common issues like hard-to-read displays and space constraints while adding safety with a fused IEC inlet. The optional TPU end caps enhance stability and aesthetics, making it a reliable and customizable solution.
This content is intended to share ideas and inspire DIY projects. While we’ve taken care to ensure accuracy, we are not liable for any losses, damages, or injuries that may occur from following these instructions or using the information provided. Please proceed with caution, and always follow safety guidelines when working on your projects.
Disclaimer