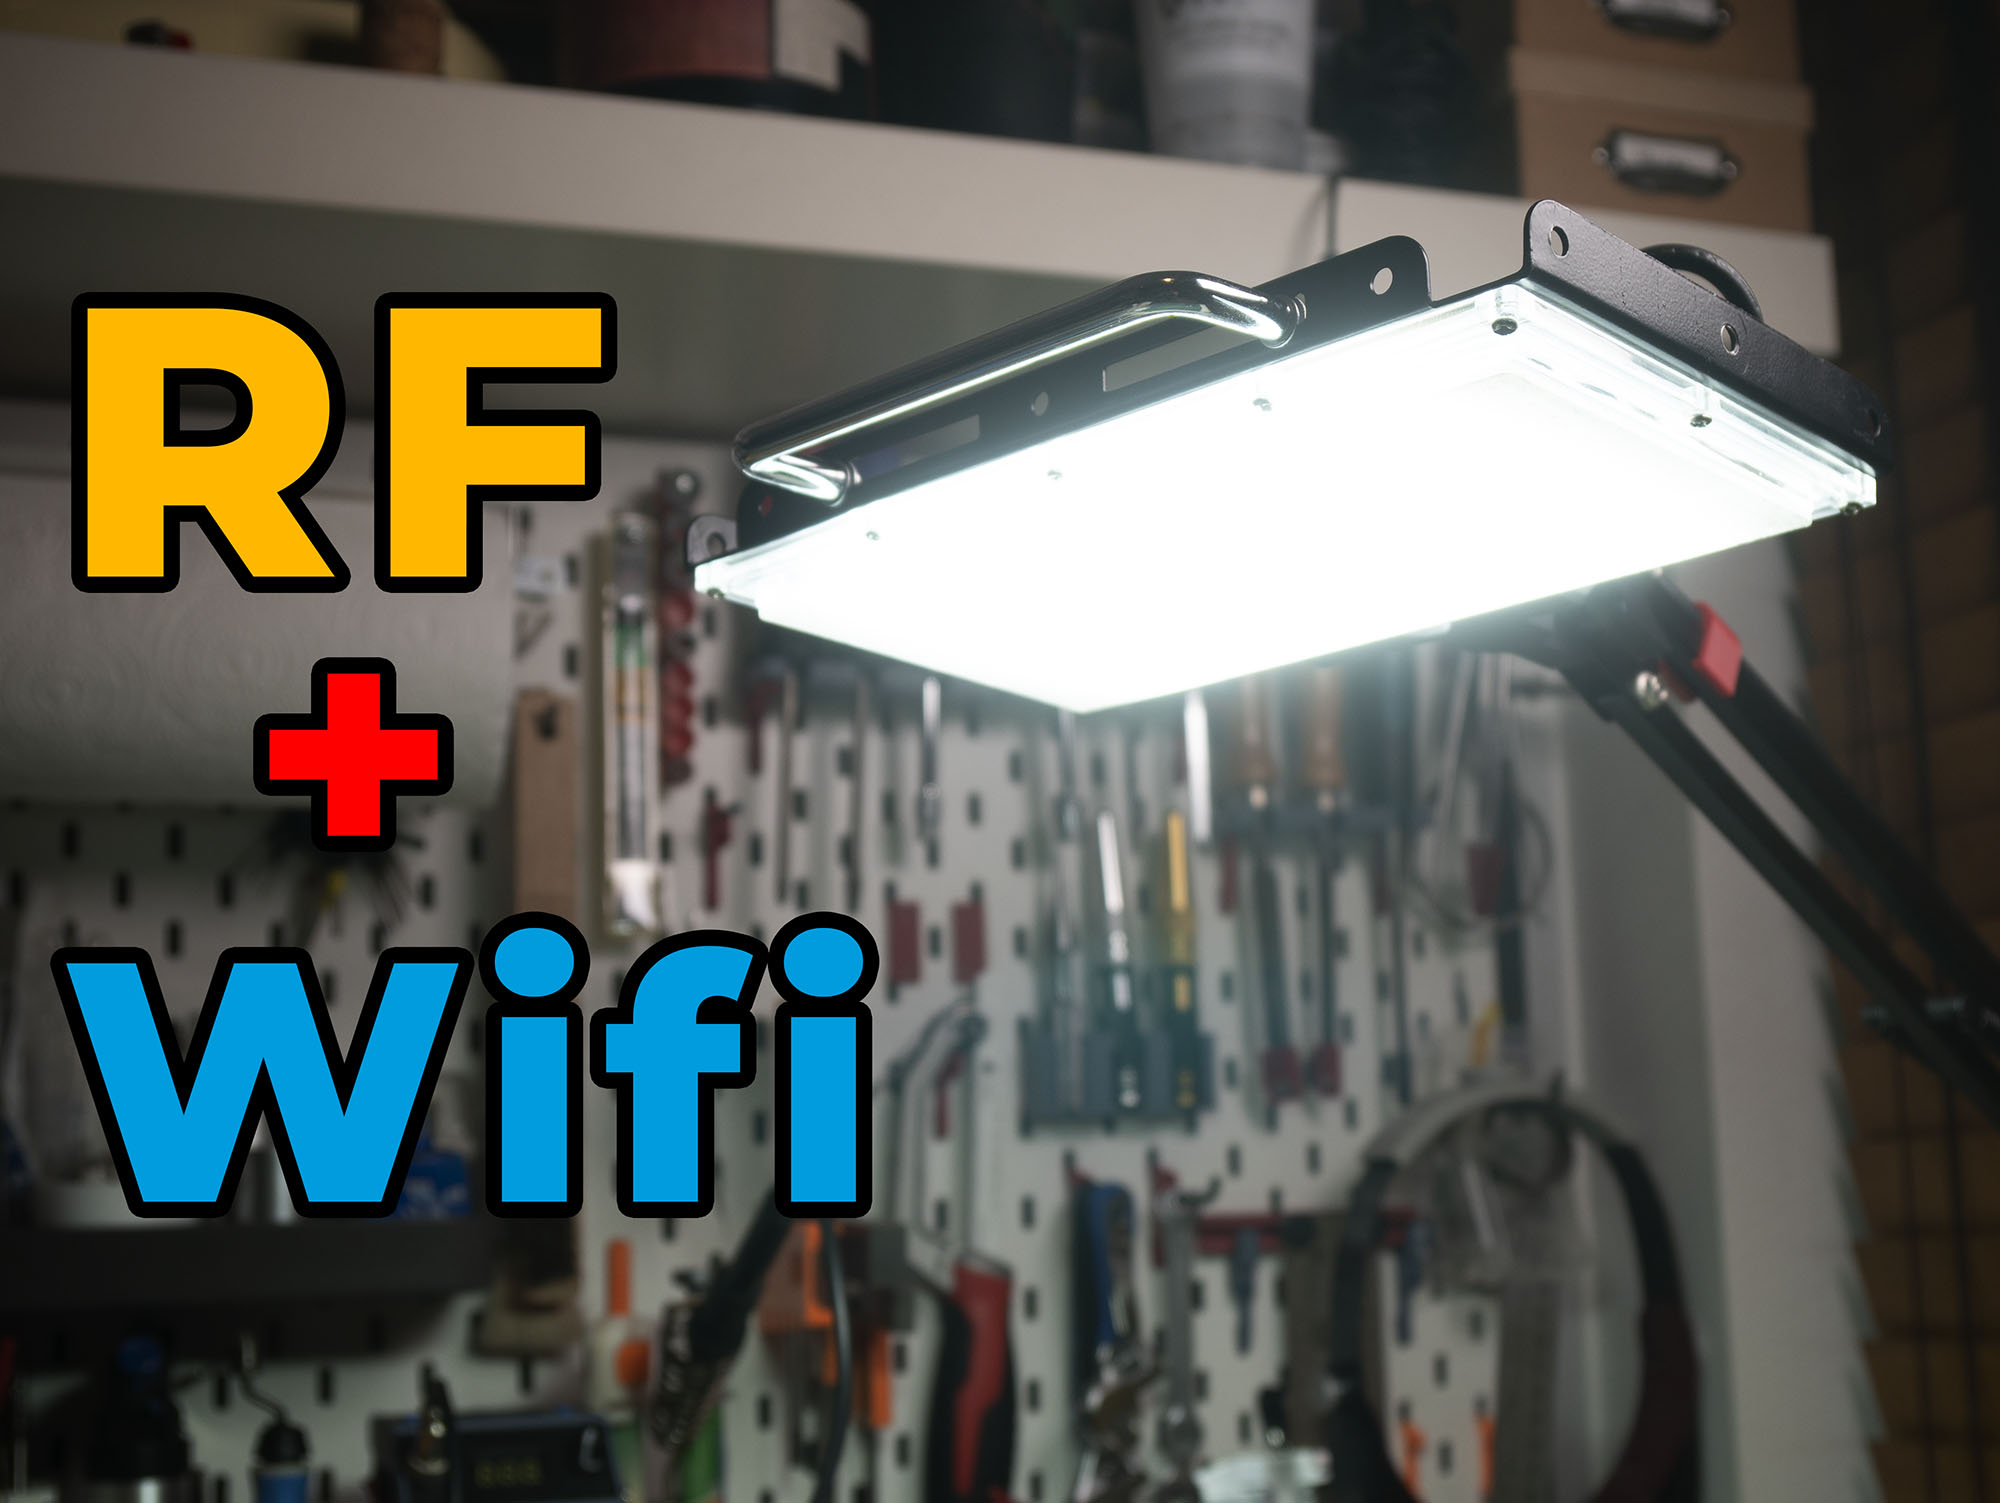
Introduction
Physical switches have a certain charm that touchscreens and mobile apps simply can’t replace. There’s something satisfying about flipping a switch and instantly seeing a response. That’s exactly what inspired this project: bringing the look and feel of a vintage spacecraft control panel into a modern smart home.
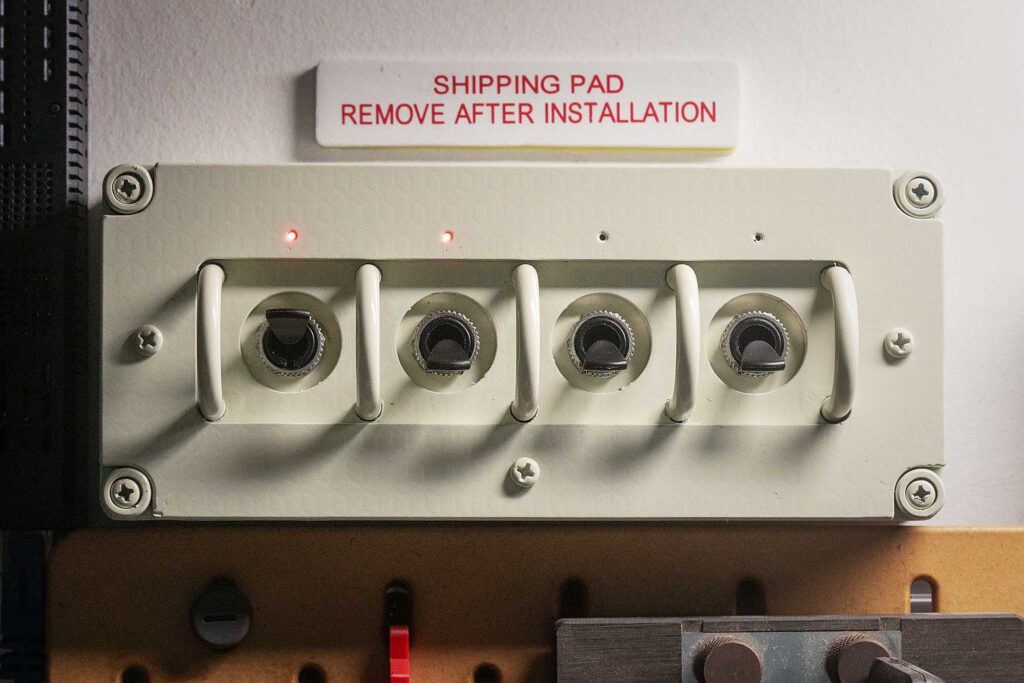
This 4-channel retro switch panel is inspired by the control consoles used in 1960s-era spacecraft. With its metal toggle switches, protective guard bars, and status LEDs, it looks right at home in a workshop, maker space, or home automation setup.

A Smart Home Control Panel with a Retro Twist
The primary version of this panel is designed to work with Home Assistant using an ESP module running ESPHome. Each switch can control Home Assistant devices such as lights, smart plugs, fans, or any other entity. You can also create Home Assistant Helpers to control groups of devices with a single switch.
Unlike momentary buttons, the latching toggle switches provide a more tactile experience and make the panel feel like real equipment rather than just another smart home accessory.
One of the most useful features is the dedicated status LED for each channel. The LEDs reflect the actual state of the Home Assistant entity rather than simply following the switch position. This means that if a light is turned on from the Home Assistant dashboard, a voice assistant, or another automation, the panel still displays the correct status.
This small addition makes the panel much more practical for everyday use.

AC Lighting Control Option
The switches used in this build are rated for AC 220V operation. While the primary design is intended for Home Assistant integration, the panel can also be adapted for traditional lighting control.
For builders planning to work with mains voltage, I have included versions designed for heavier wiring as well as drill guides for cable glands, conduit fittings, and panel connectors.
Always follow local electrical regulations and safety practices when working with mains power. Make sure the switches you purchase are properly rated for AC voltage before using them with mains wiring.

The 3mm LEDs linked in this project are low-voltage DC LEDs only. While AC-rated indicator LEDs are available, they require additional precautions and I do not recommend mounting mains-powered LEDs directly in a 3D-printed enclosure.
Hardware Used
Electronics
- ESP32 DevKitC:
Any ESP32 or ESP8266 with at least eight available GPIO pins can be used. - 4× Latching toggle switches (M12 or M16):
The panel supports both M12 and M16 latching toggle switches. For this project I used R13-412 M12 toggle switches rated for 220V AC.
For M16 switch They also variety of style for the latch switch like LB16NZ or the one with LED. - 4× 3mm LEDs:
- Current-limiting resistors:
- Hook-up wire:
Hardware
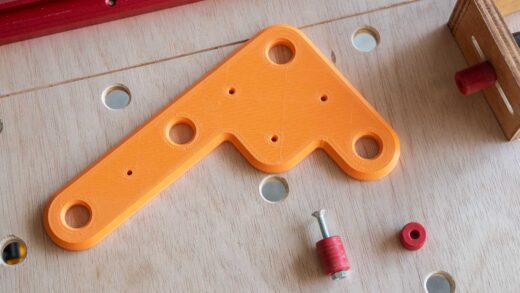
- M6 U-bolts (25mm ID):
The protective bars are made from M6 U-bolts with a 25mm inside diameter. The mounting holes are spaced 30mm apart. - 8 × M6 Nut and Washer:
- 4 × M4x15 ball head screws:
- 3 × M4x10 ball head screws:
- 4 × M2.6 Flat Head Self-Tap screws:
For Mounting ESP32 Module
3D Print Parts
- Printable.com: 4-Channel Retro Spacecraft Switch Panel

Wiring
I soldered the current-limiting resistor directly to the LED anode and covered it with heat shrink tubing.
I used 1kΩ resistors for the indicator LEDs because I preferred a softer, less intense glow. If you want brighter indicators, 470Ω resistors work well and are still within the safe operating range for an ESP32 GPIO pin. The exact value is not critical and can be adjusted to suit your preferred brightness.
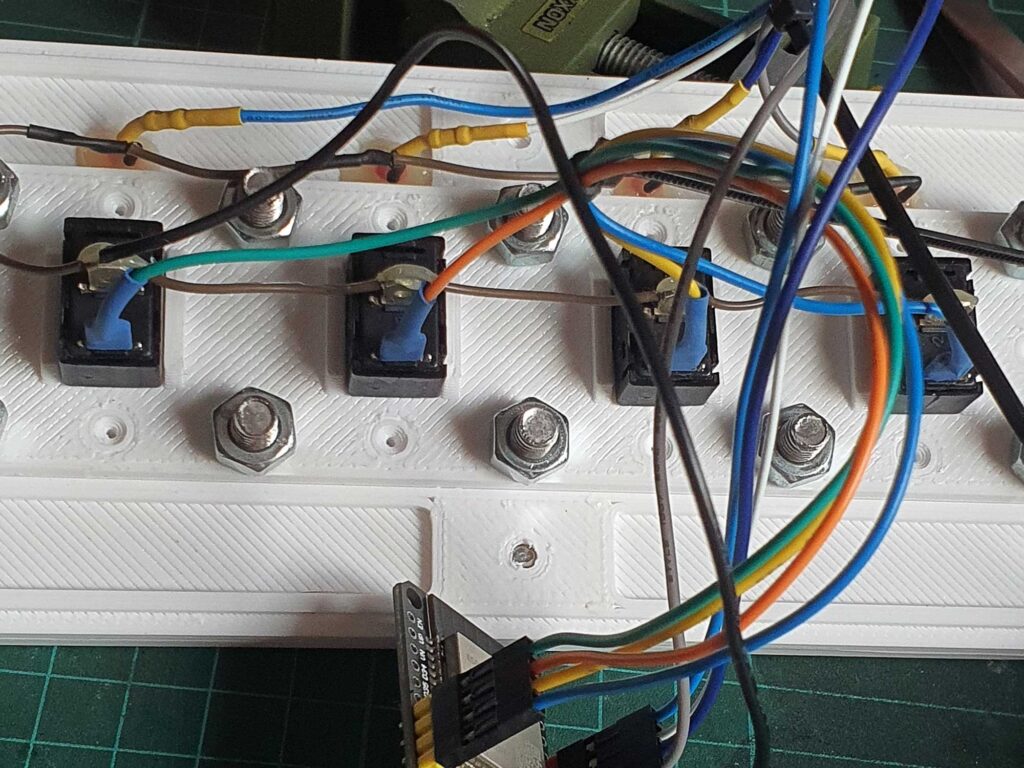
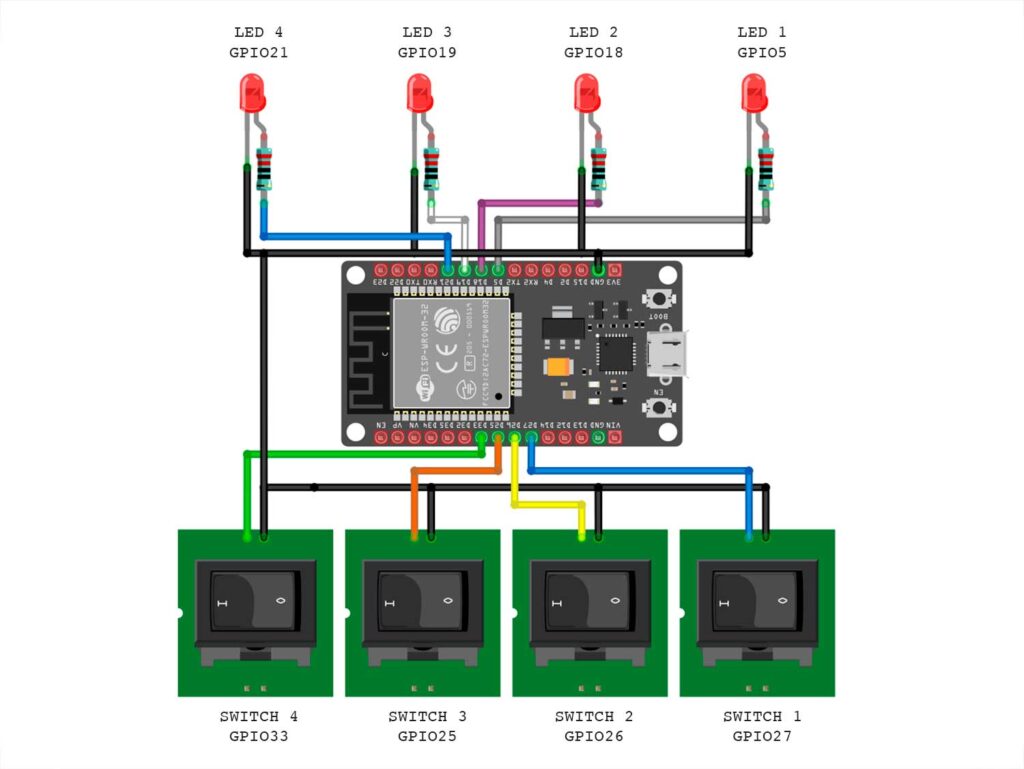
All LED cathodes are connected together and tied to the ESP32 ground. The LED anodes connect to the ESP32 GPIO pins through their resistors.
For the switches, one side of each switch is connected to ground while the other side connects to an ESP32 GPIO configured with an internal pull-up resistor.
Panel Power Options

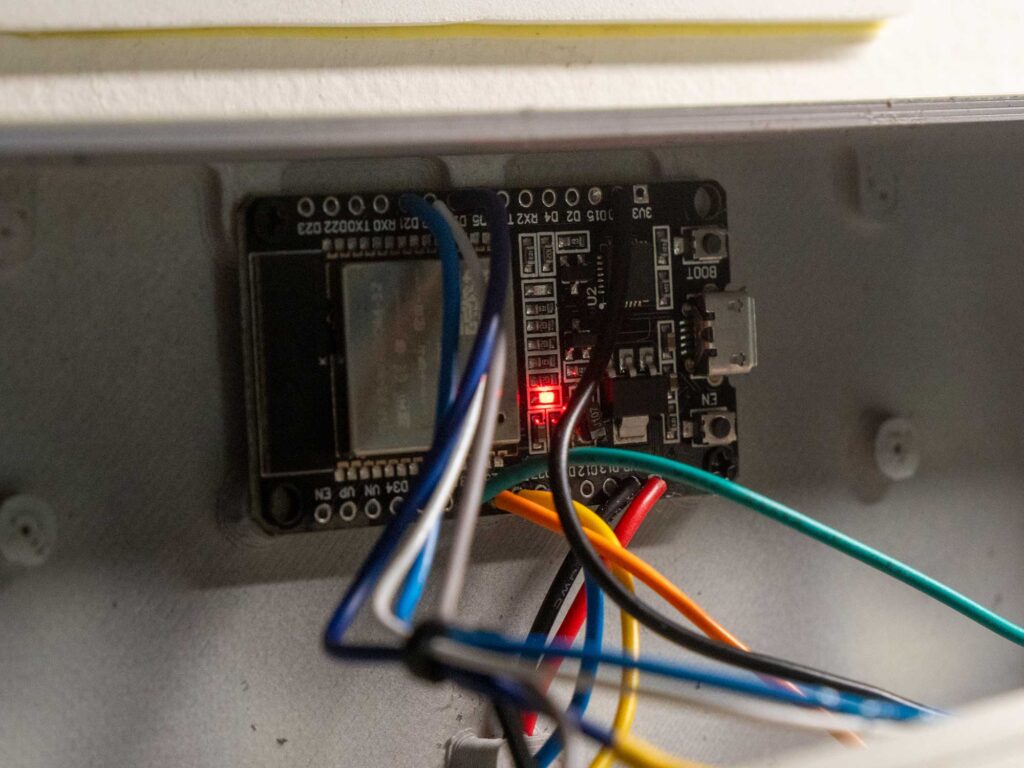
To power the panel, I cut one end off a USB cable and connected the 5V and GND wires directly to the ESP32. Alternatively, you can simply use the USB connector on the ESP module and power it with a standard USB charger.
The enclosure also includes an optional mounting location for this compact 5V/700mA AC-DC power supply, allowing the entire unit to be powered directly from mains voltage without an external USB adapter.
For the AC switching version, I have included drill guides for cable glands, conduit fittings, or panel connectors to help route and secure mains wiring safely.
ESPHome Configuration
Unlike a momentary push button, a latching toggle switch remains in either the ON or OFF position. When connected to an ESP32, the GPIO input continuously reads the switch state rather than generating a brief trigger event.
Because of this, directly mapping the switch position to a Home Assistant entity can create an awkward user experience. For example, if a light is turned on from the Home Assistant dashboard or a voice assistant, the physical switch position may no longer match the actual state of the device.
To keep the controls intuitive, I wanted all switches to behave consistently, with the UP position representing ON and the DOWN position representing OFF. The ESPHome script accomplishes this by comparing the physical switch position with the current state of the corresponding Home Assistant entity.
When the switch position and entity state already match, no action is taken. When they differ, ESPHome sends the appropriate command to synchronize the entity state.
For example, if a light is turned on from Home Assistant while the physical switch remains in the OFF position, the status LED will indicate that the light is ON. To turn the light off, simply move the switch to the ON position and then back to OFF. Once the switch position and entity state match, the panel behaves exactly as expected.
This approach allows the panel to maintain the familiar feel of a traditional control panel while ensuring the indicator LEDs always reflect the actual state of the connected Home Assistant entities.
Customizing the Entity
The entities controlled by each switch are defined in the substitutions section at the top of the configuration:
substitutions:
  ha_switch_1: switch.s1
  ha_switch_2: switch.s2
  ha_switch_3: switch.s3
  ha_switch_4: switch.s4
Simply replace these entity IDs with the Home Assistant entities you want to control.
Other Entity Types
This example is configured for Home Assistant switch entities and uses the switch.turn_on and switch.turn_off services.
If you wish to control lights, fans, covers, or other entity types, both the Home Assistant state entity and the service calls in the ESPHome configuration must be modified accordingly.
For example:
light.turn_on/light.turn_offfan.turn_on/fan.turn_offinput_boolean.turn_on/input_boolean.turn_off
You will also need to change the corresponding Home Assistant entity definition in ESPHome. The example configuration uses:
switch:
  - platform: homeassistant
which is intended for Home Assistant switch entities. Other entity domains may require additional ESPHome configuration changes to properly read and synchronize the entity state.
The easiest solution is to create a Home Assistant Template Switch that mirrors the state of the desired entity. The switch panel then interacts with the template switch, while Home Assistant handles the appropriate actions for lights, fans, covers, scripts, scenes, or other entity types. This allows you to use the example ESPHome configuration without modifying the synchronization logic.
template:
  - switch:
      - name: "Office Light"
        state: "{{ is_state('light.office_light', 'on') }}"
        turn_on:
          - service: light.turn_on
            target:
              entity_id: light.office_light
        turn_off:
          - service: light.turn_off
            target:
              entity_id: light.office_light
The complete ESPHome configuration used in this project is available in:

Conclusion
If you’re looking for a Home Assistant project that’s different from the usual touchscreens and wall tablets, this retro spacecraft-inspired switch panel is a great weekend build.
It combines classic industrial design with modern smart home functionality, creating a control panel that feels like it came straight from a 1960s mission control room while still fitting perfectly into a modern Home Assistant setup.
Some links may included Aliexpress affiliate code. This means if you make a purchase through them, I’ll earn a small commission at no additional cost to you.
About Affiliate Links
I also buy from these suppliers myself, so I’m confident in recommending them. If you’re comfortable shopping on AliExpress and enjoy my projects, feel free to use these links! Your support helps fund the channel, allowing me to create even more exciting DIY content for you. Thank you!